3. Configuring to Work with Desktop Applications
To authenticate desktop applications, the server must have HTTPS enabled. Here are simple instructions for configuring HTTPS in your development environment.
|
Self-signed certificates are suitable solely for testing purposes. When running production applications, it’s essential to utilize SSL certificates issued by a trusted authority. |
Creating a Keystore File
-
Generate a keystore using the keytool utility provided by JDK:
keytool -genkey -keyalg RSA -alias localhost -keystore localhost.jks -validity 365 -keysize 2048You will be asked for the keystore password and then for some names. Remember the password and the names.
-
Export certificate from the keystore:
keytool -export -keystore localhost.jks -storepass <password> -alias localhost -file localhost.cerUse the password entered on the first step instead of
<password>. -
Register the certificate as trusted in your operating system.
-
On Windows operating system:
-
Press the
Windowskey +Rto open the Run dialog, then type"certmgr.msc"and press Enter. This will open the Certificate Manager. -
In the left pane of the Certificate Manager, expand the Trusted Root Certification Authorities folder.
-
Right-click on the folder and select All Tasks > Import… from the context menu. This will open the Certificate Import Wizard.
-
In the Certificate Import Wizard, click Next and then browse to the location where your certificate file is stored. Select the certificate file and click Next.
-
Choose the option to place the certificate in the Trusted Root Certification Authorities store and click Next.
-
Review the information and click Finish to complete the import process.
-
You should see a message indicating that the import was successful. Click OK to close the wizard.
Once these steps are completed, the certificate should be registered as trusted in the Windows operating system.
-
-
On macOS:
-
Double-click on
localhost.cerfile in Finder. The Keychain Access application will open. -
Find your certificate under the name entered on the first step as "your first and last name" on the Certificates tab.
-
Double-click the certificate and select Trust → When using this certificate: Always Trust.
-
-
Configuring Server
This section explains how to use the certificate generated in the previous section in your application when it runs from the IDE or as an executable JAR.
-
Create
src/main/resources/<base-package>/keystoredirectory and copylocalhost.jksinto it. -
Set the following properties in the
application.propertiesfile replacing<base-package>and<password>with actual values:# Enables HTTPS server.ssl.enabled=true # The format used for the keystore server.ssl.key-store-type = JKS # The path to the keystore containing the certificate server.ssl.key-store = classpath:<base-package>/keystore/localhost.jks # The password used to generate the keystore server.ssl.key-store-password = <password> # The alias mapped to the certificate server.ssl.key-alias = localhost # Changes the server's port server.port = 8443The
<base-package>in the path to the keystore (server.ssl.key-storeproperty) should be presented as a slash-separated path:server.ssl.key-store = classpath:com/example/demo/keystore/localhost.jks
-
Open the main application class and change the
printApplicationUrl()method. The URL should be changed tohttps://after configuring HTTPS:@EventListener public void printApplicationUrl(final ApplicationStartedEvent event) { LoggerFactory.getLogger(DemoApplication.class).info("Application started at " + "https://localhost:" + environment.getProperty("local.server.port") + Strings.nullToEmpty(environment.getProperty("server.servlet.context-path"))); }
Running the Application
After following the instructions outlined above, launch the application at https://localhost:8443.
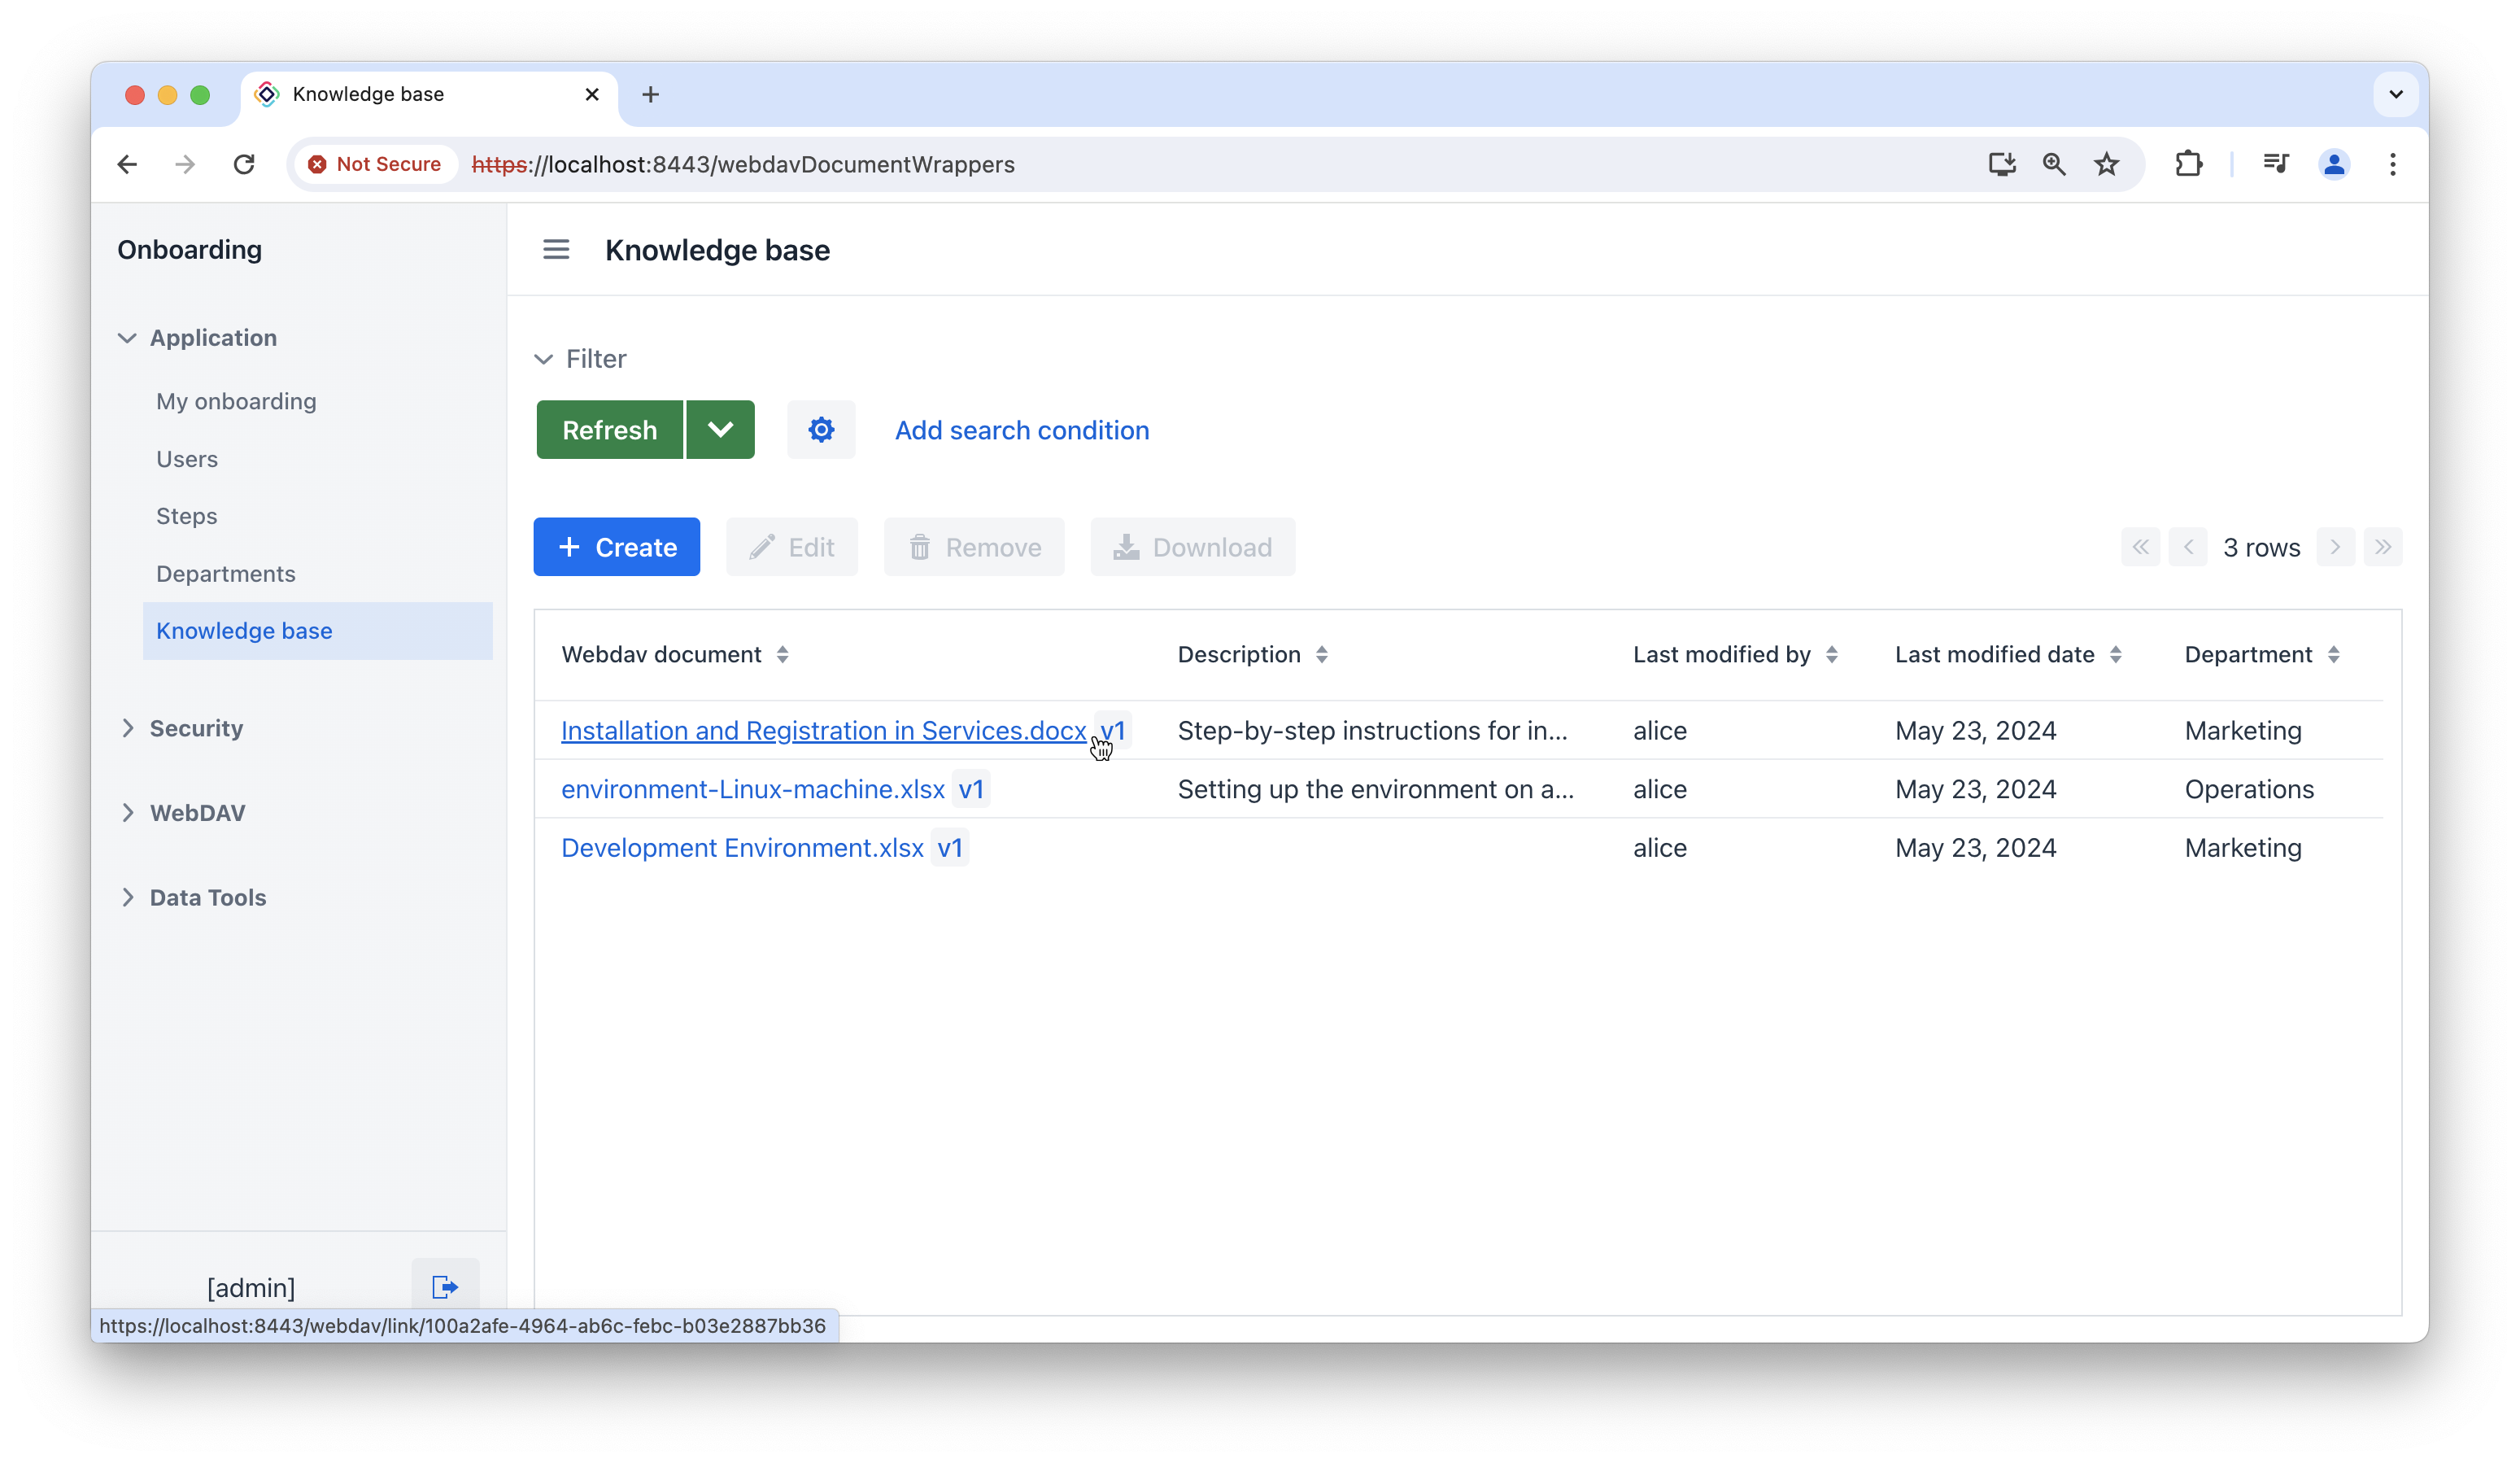
Choose the Knowledge base item from the Application menu. Click on the WebDAV document link.
The browser will display a dialog prompting the user to open the WebDAV file in a desktop office application.
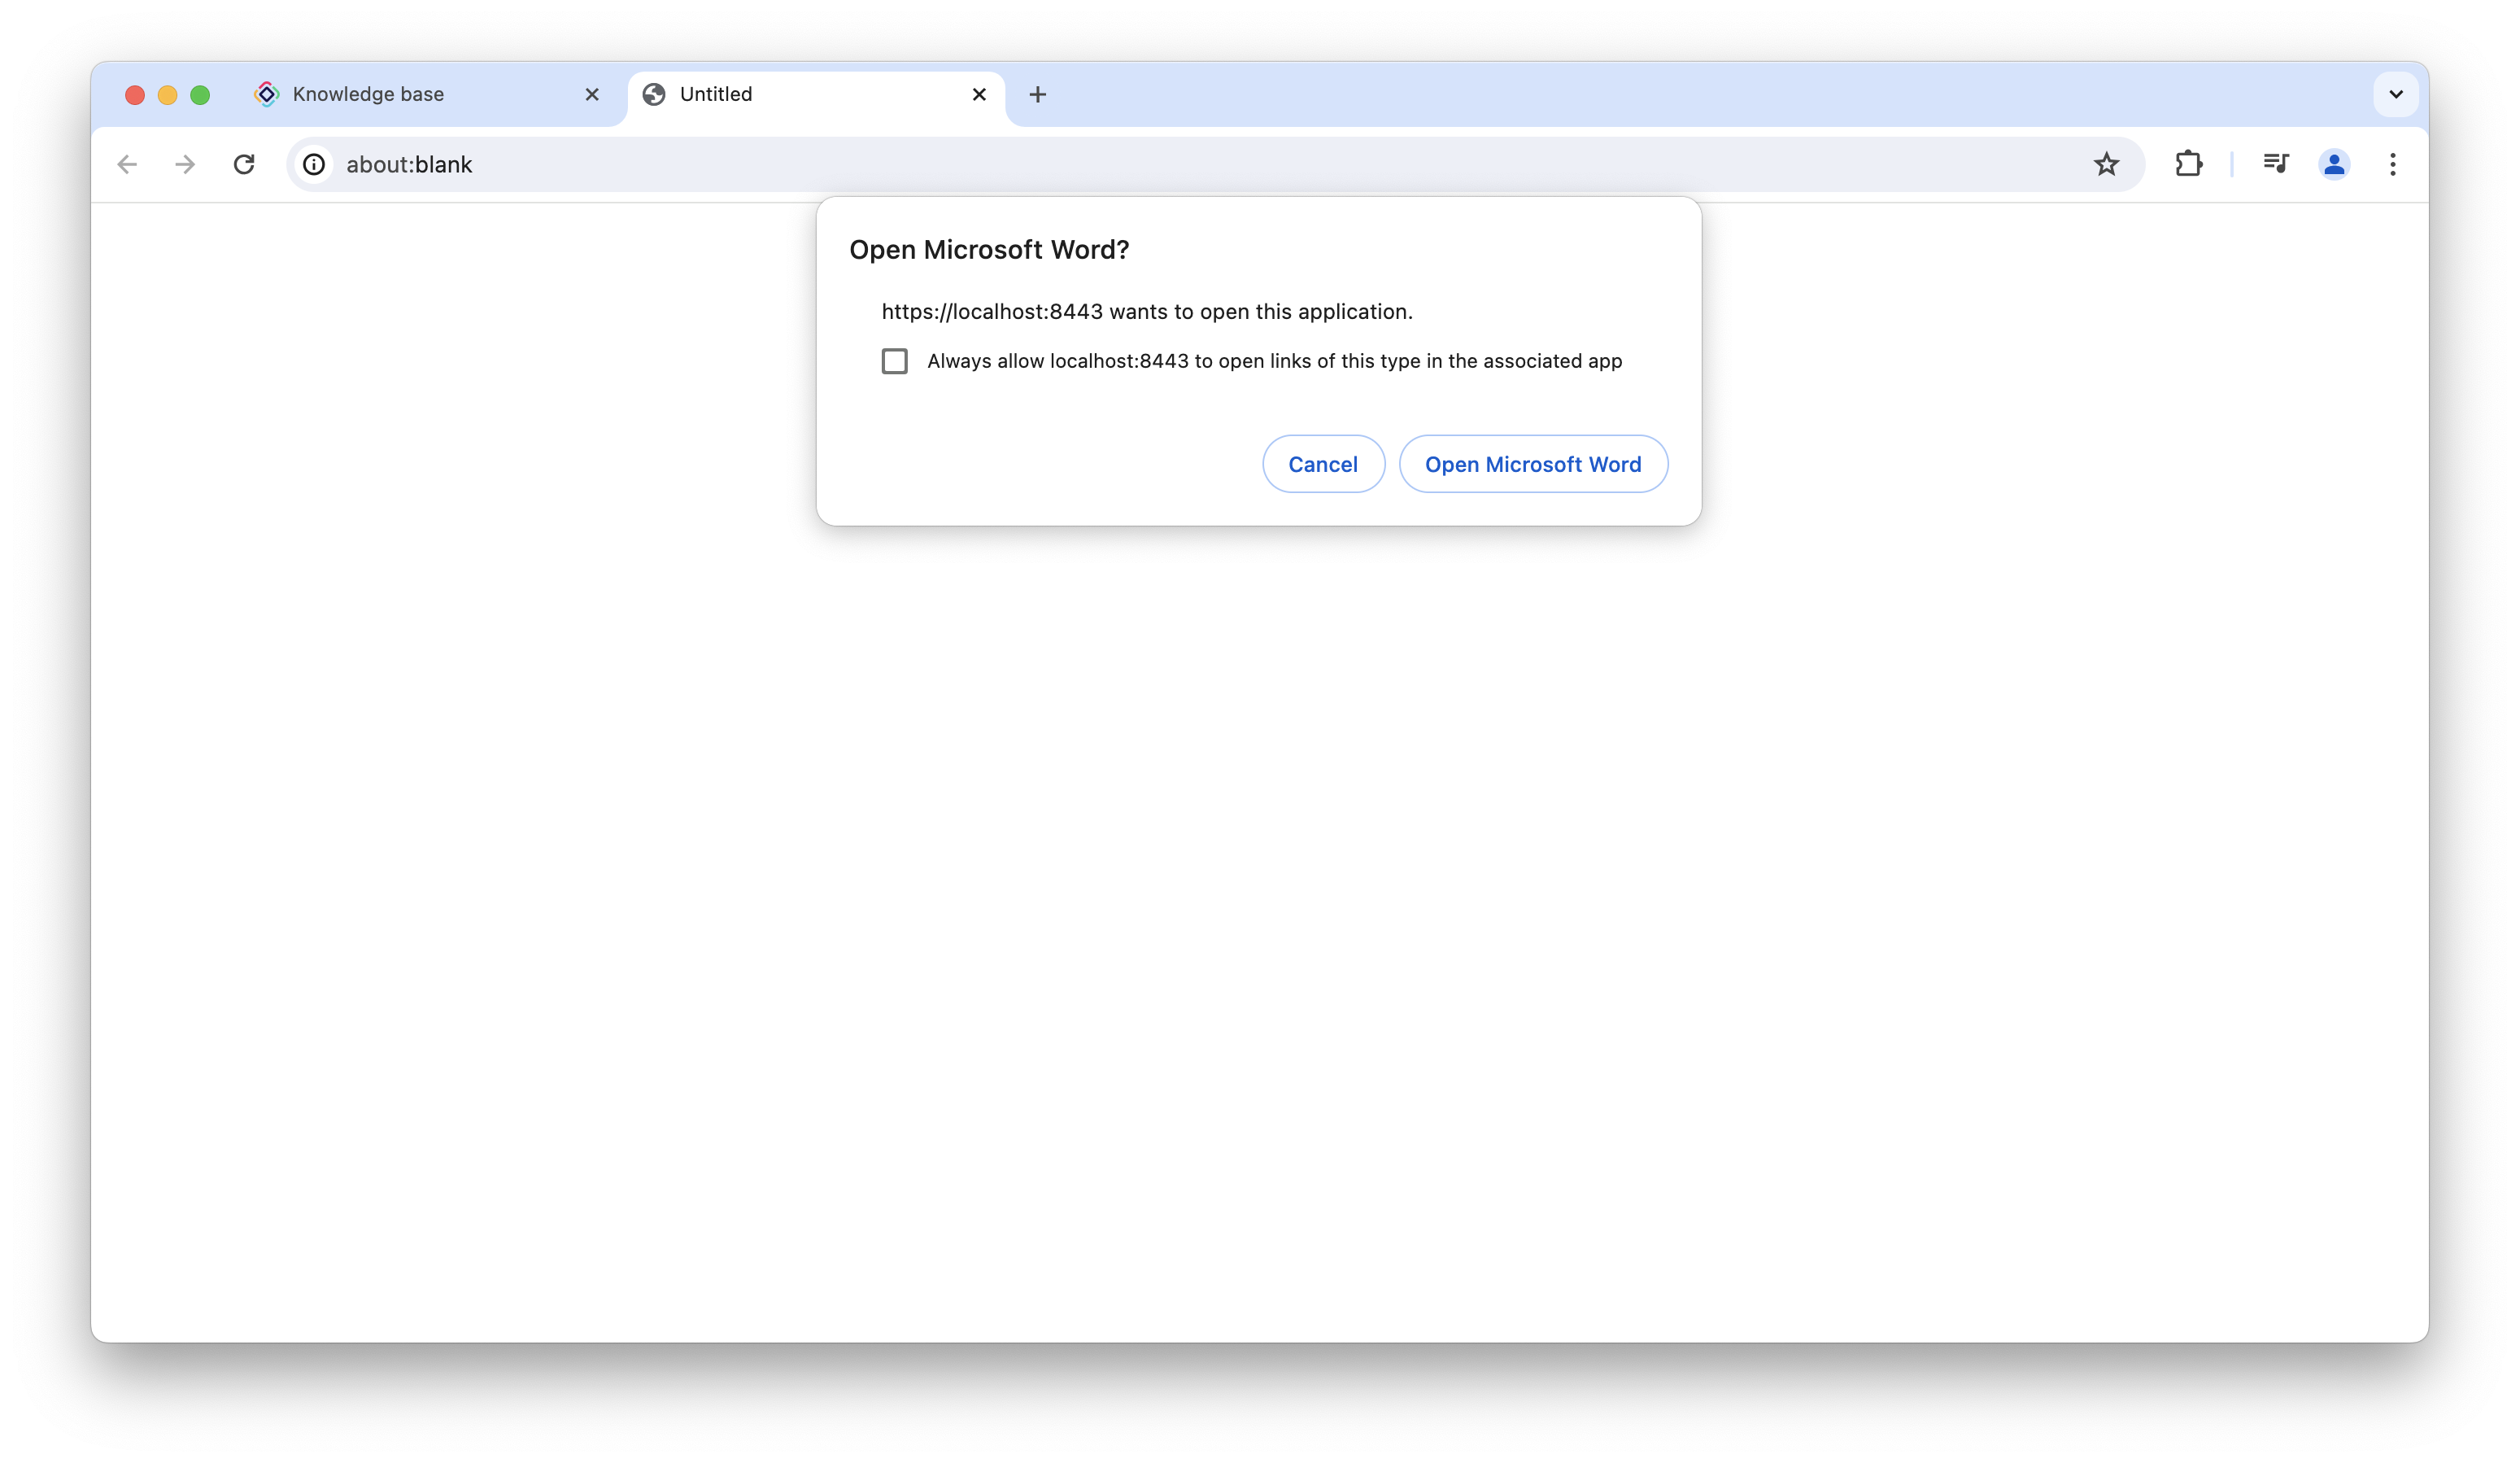
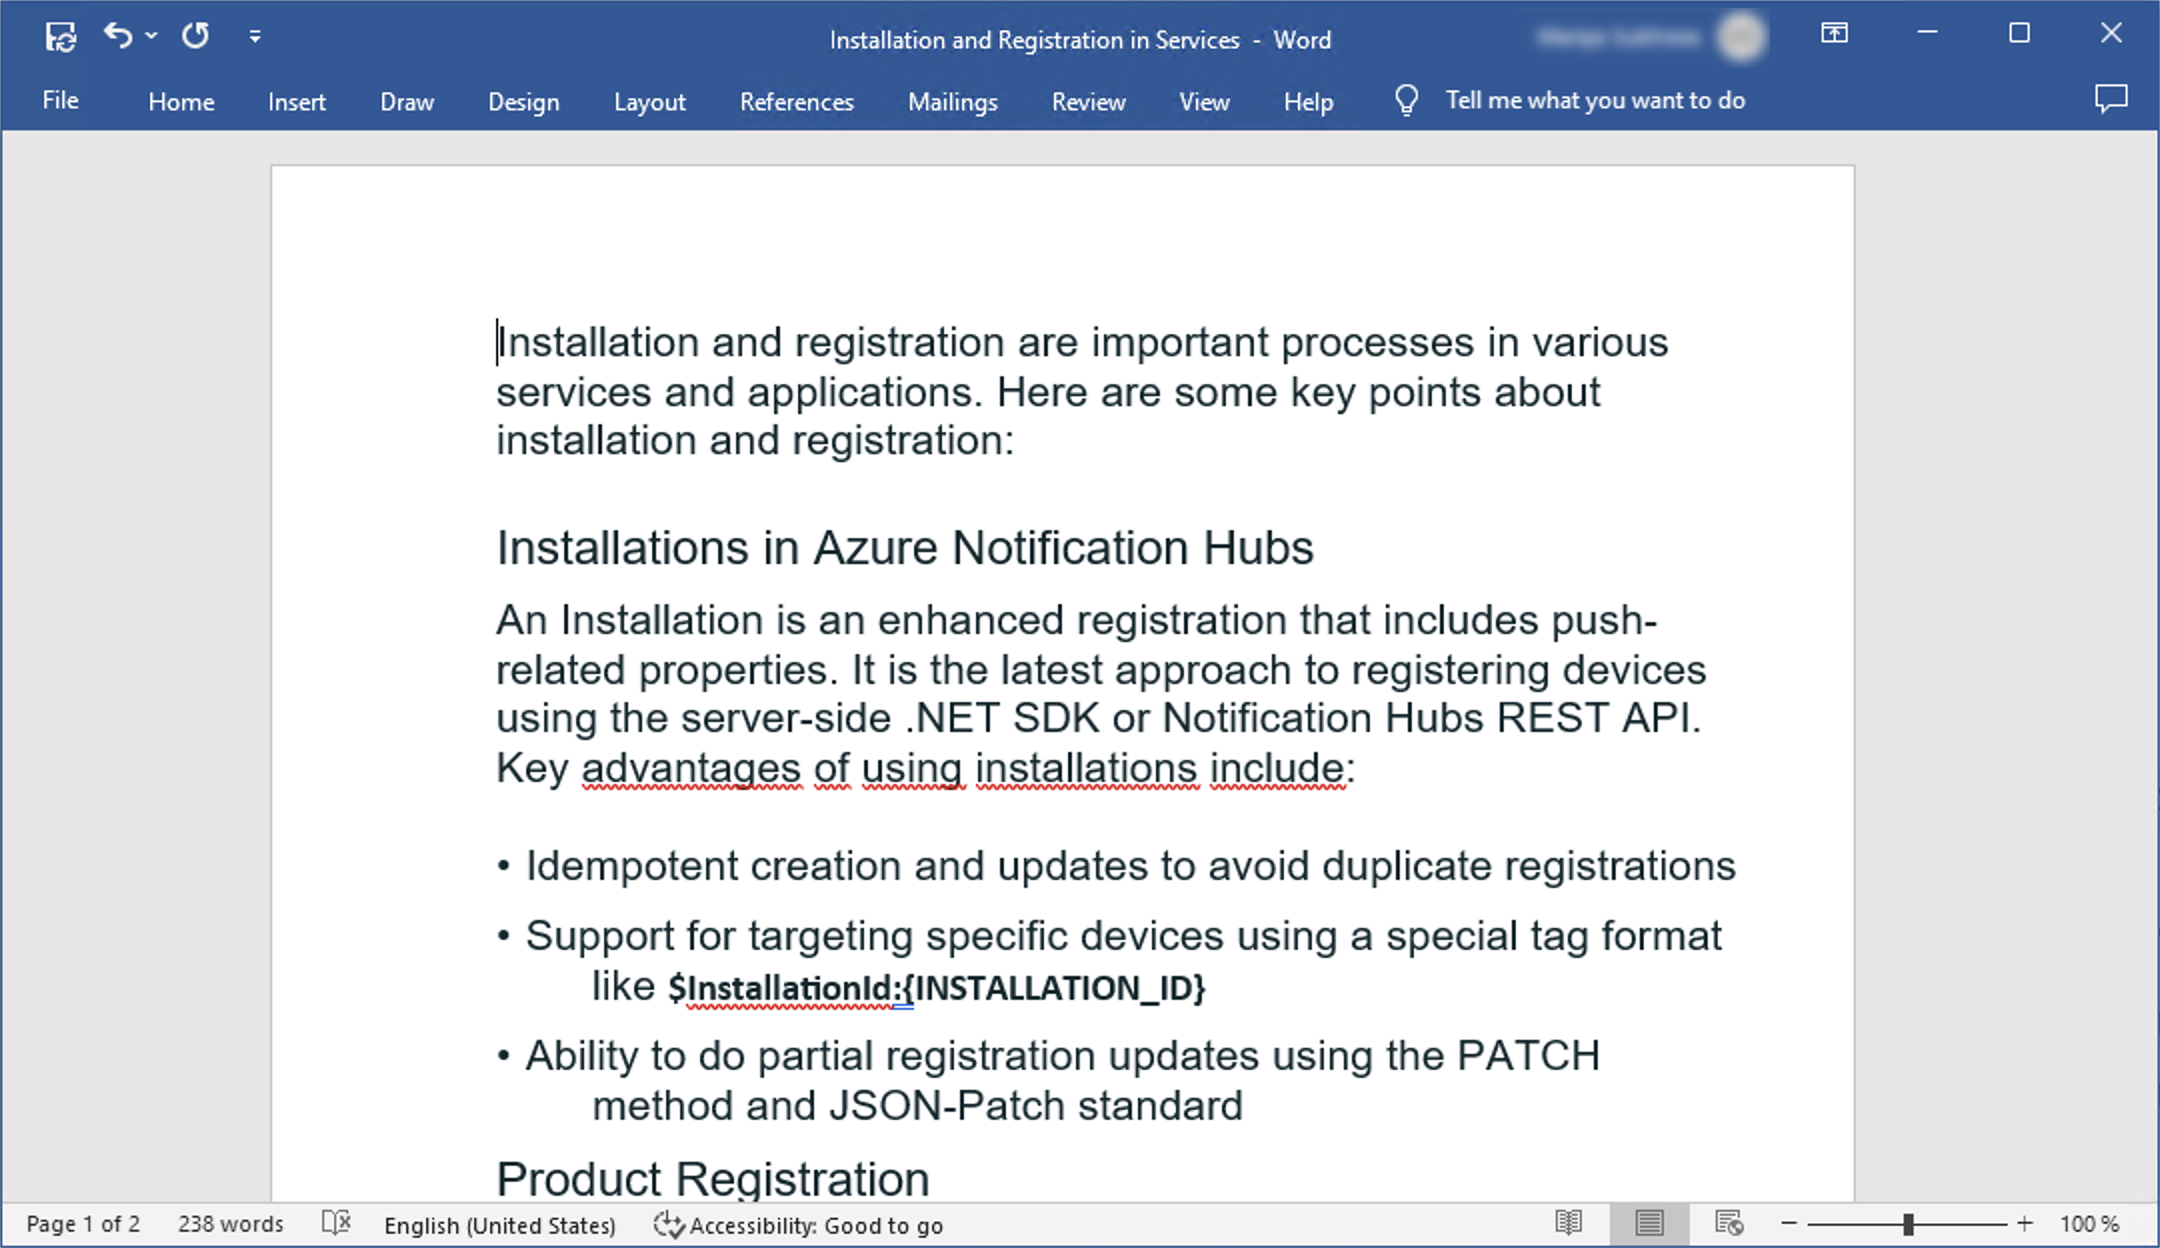
Agree to open the file and ensure that the WebDAV document opens in desktop office applications.
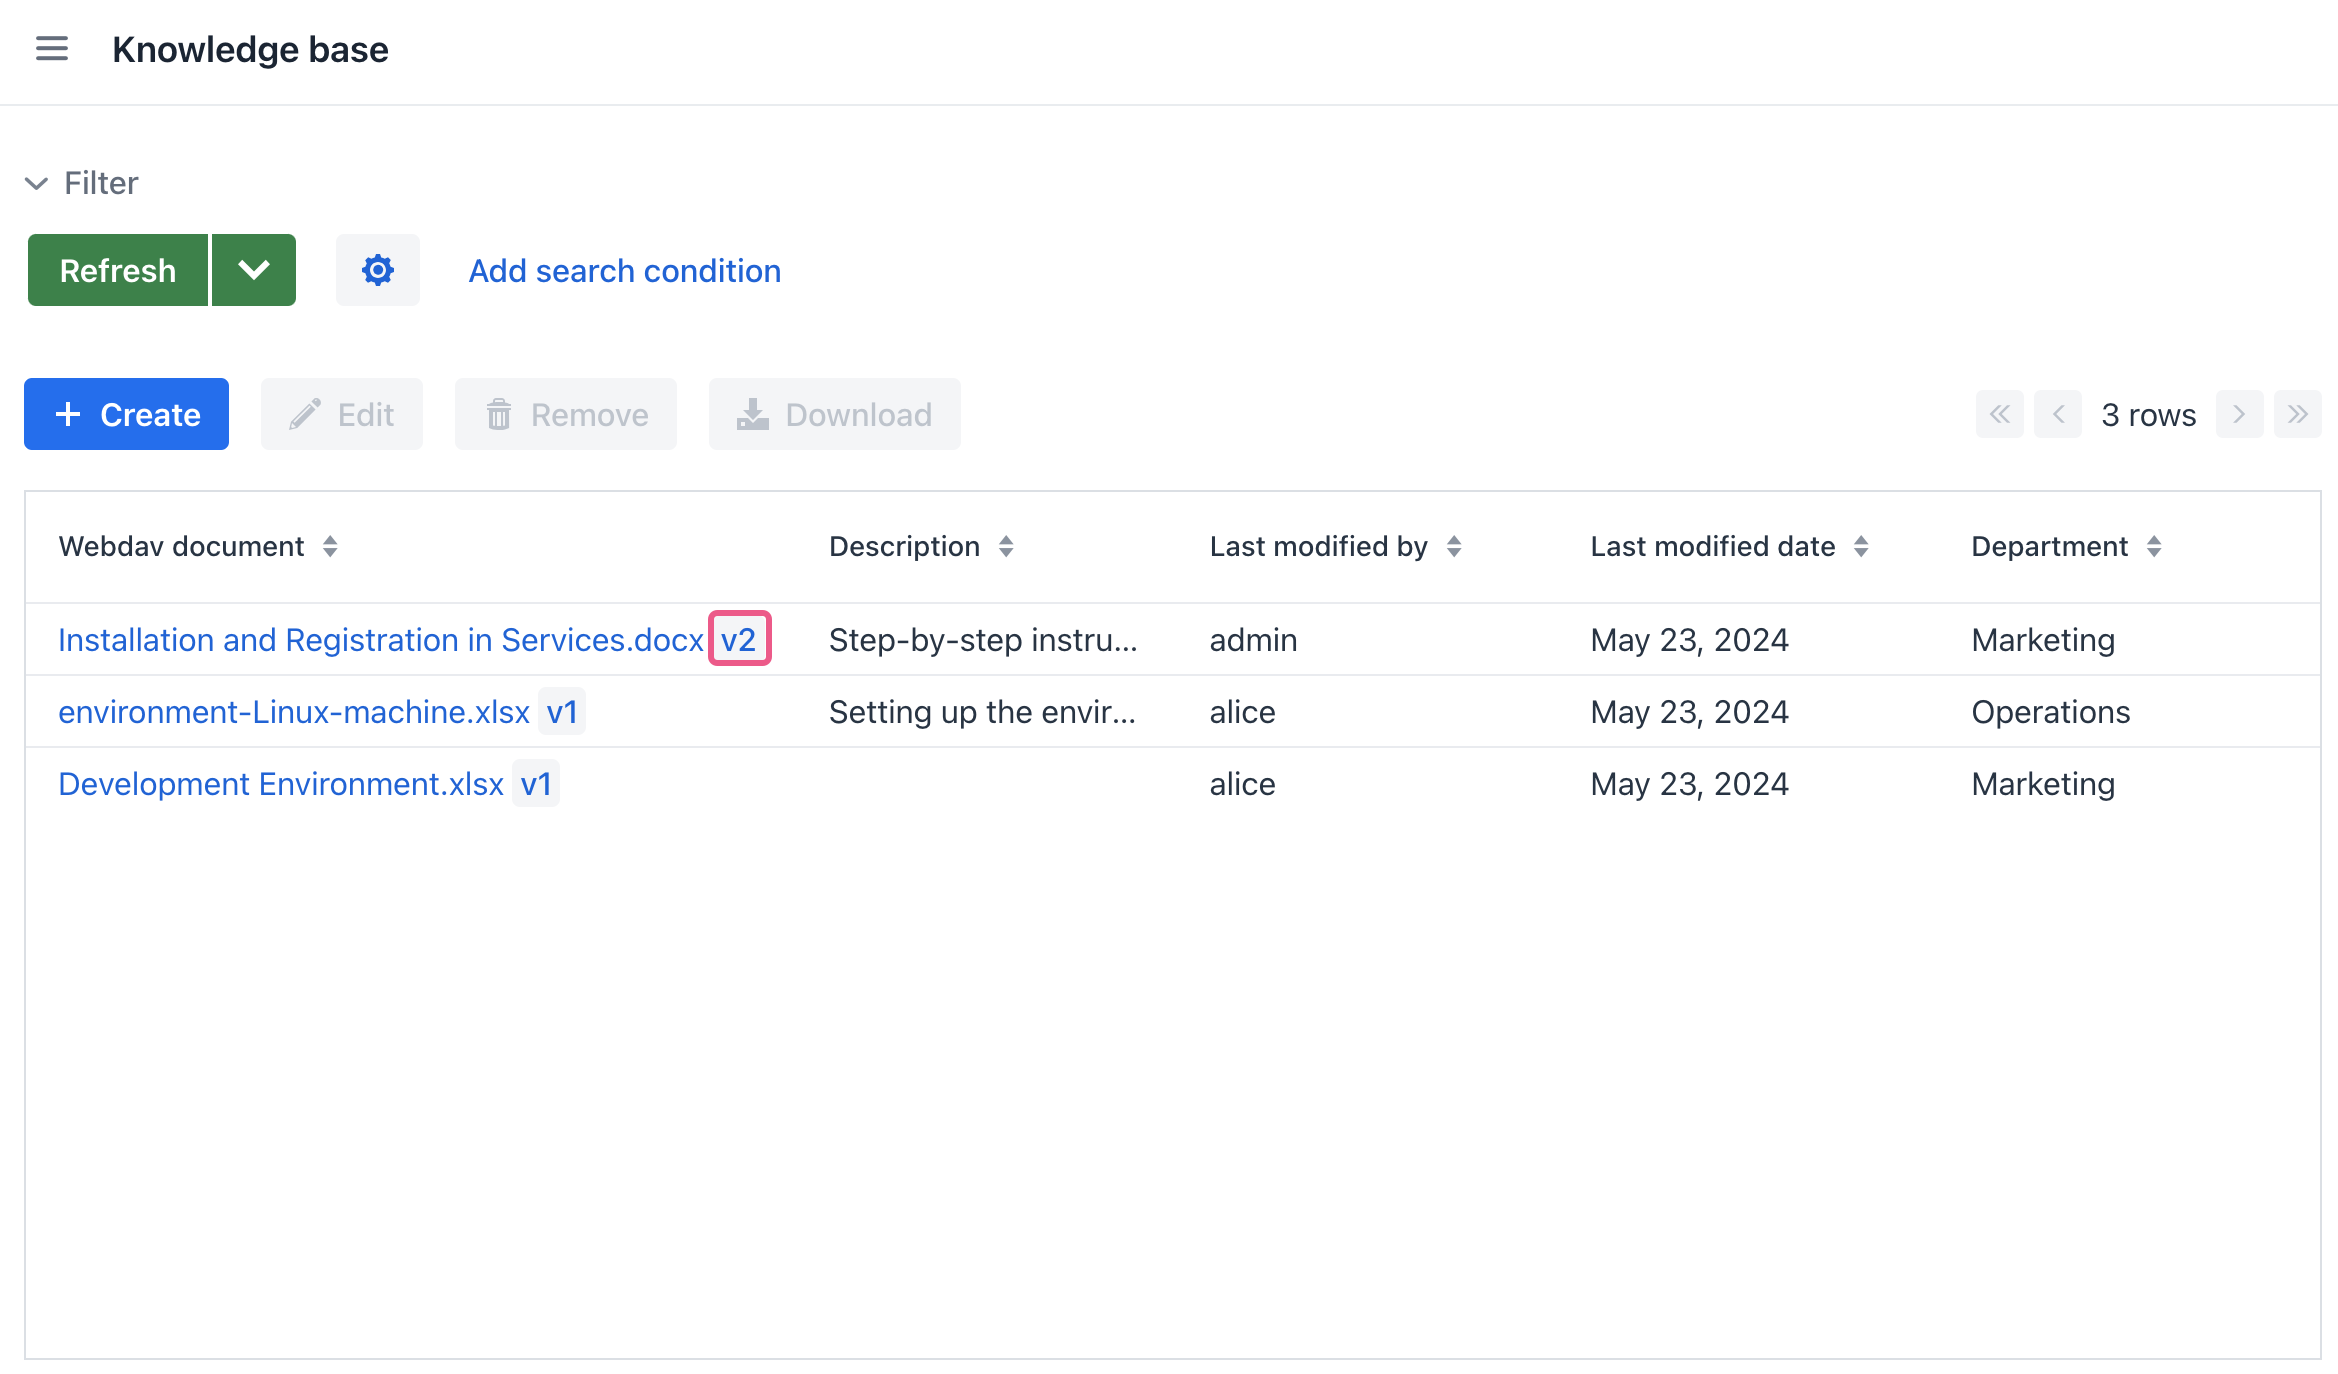
Once the WebDAV document is edited and saved, a new version of the document will be created, which will be the latest version.
Summary
You have learned that:
-
To enable opening and editing of WebDAV documents using desktop office applications, it is necessary to set up HTTPS for your web application. This is essential for ensuring secure communication between desktop office applications and the WebDAV server, particularly when handling sensitive document editing and saving operations.
-
HTTPS encryption provides a secure channel for transmitting data, preventing unauthorized access and guaranteeing the integrity of the document editing process.