Настройка
После установки дополнения в вашем приложении создайте типы уведомлений, настройте каналы уведомлений и назначьте роли пользователям.
Дополнение предоставляет два канала уведомлений из коробки: встроенный канал показывает уведомления в пользовательском интерфейсе приложения, а email-канал отправляет электронные письма. Вы можете определить собственные каналы, создавая бины, реализующие интерфейс NotificationChannel.
Типы уведомлений
Дополнение не предоставляет типы уведомлений по умолчанию. Вам следует создать набор экземпляров NotificationType и зарегистрировать их через NotificationTypesRepository при инициализации приложения. Следующий код можно добавить в любой бин приложения, например, в главный класс приложения, аннотированный @SpringBootApplication:
@Autowired
private NotificationTypesRepository notificationTypesRepository;

@EventListener
public void onApplicationContextRefreshed(final ContextRefreshedEvent event) {
    notificationTypesRepository.registerTypes(
            new NotificationType("info", "INFO_CIRCLE"), (1)
            new NotificationType("warn", "WARNING")
    );
}| 1 | Создает тип уведомления с уникальным именем info и иконкой INFO_CIRCLE. |
Локализованные сообщения для типов уведомлений можно добавить по следующему шаблону:
io.jmix.notifications/NotificationType.<name>=<value>
В случае примера выше:
io.jmix.notifications/NotificationType.info=Info
io.jmix.notifications/NotificationType.warn=Warning
Встроенный канал
Чтобы показывать уведомления, отправленные через встроенный канал, добавьте компонент индикатора уведомлений. Например, вы можете разместить его в правом верхнем углу:
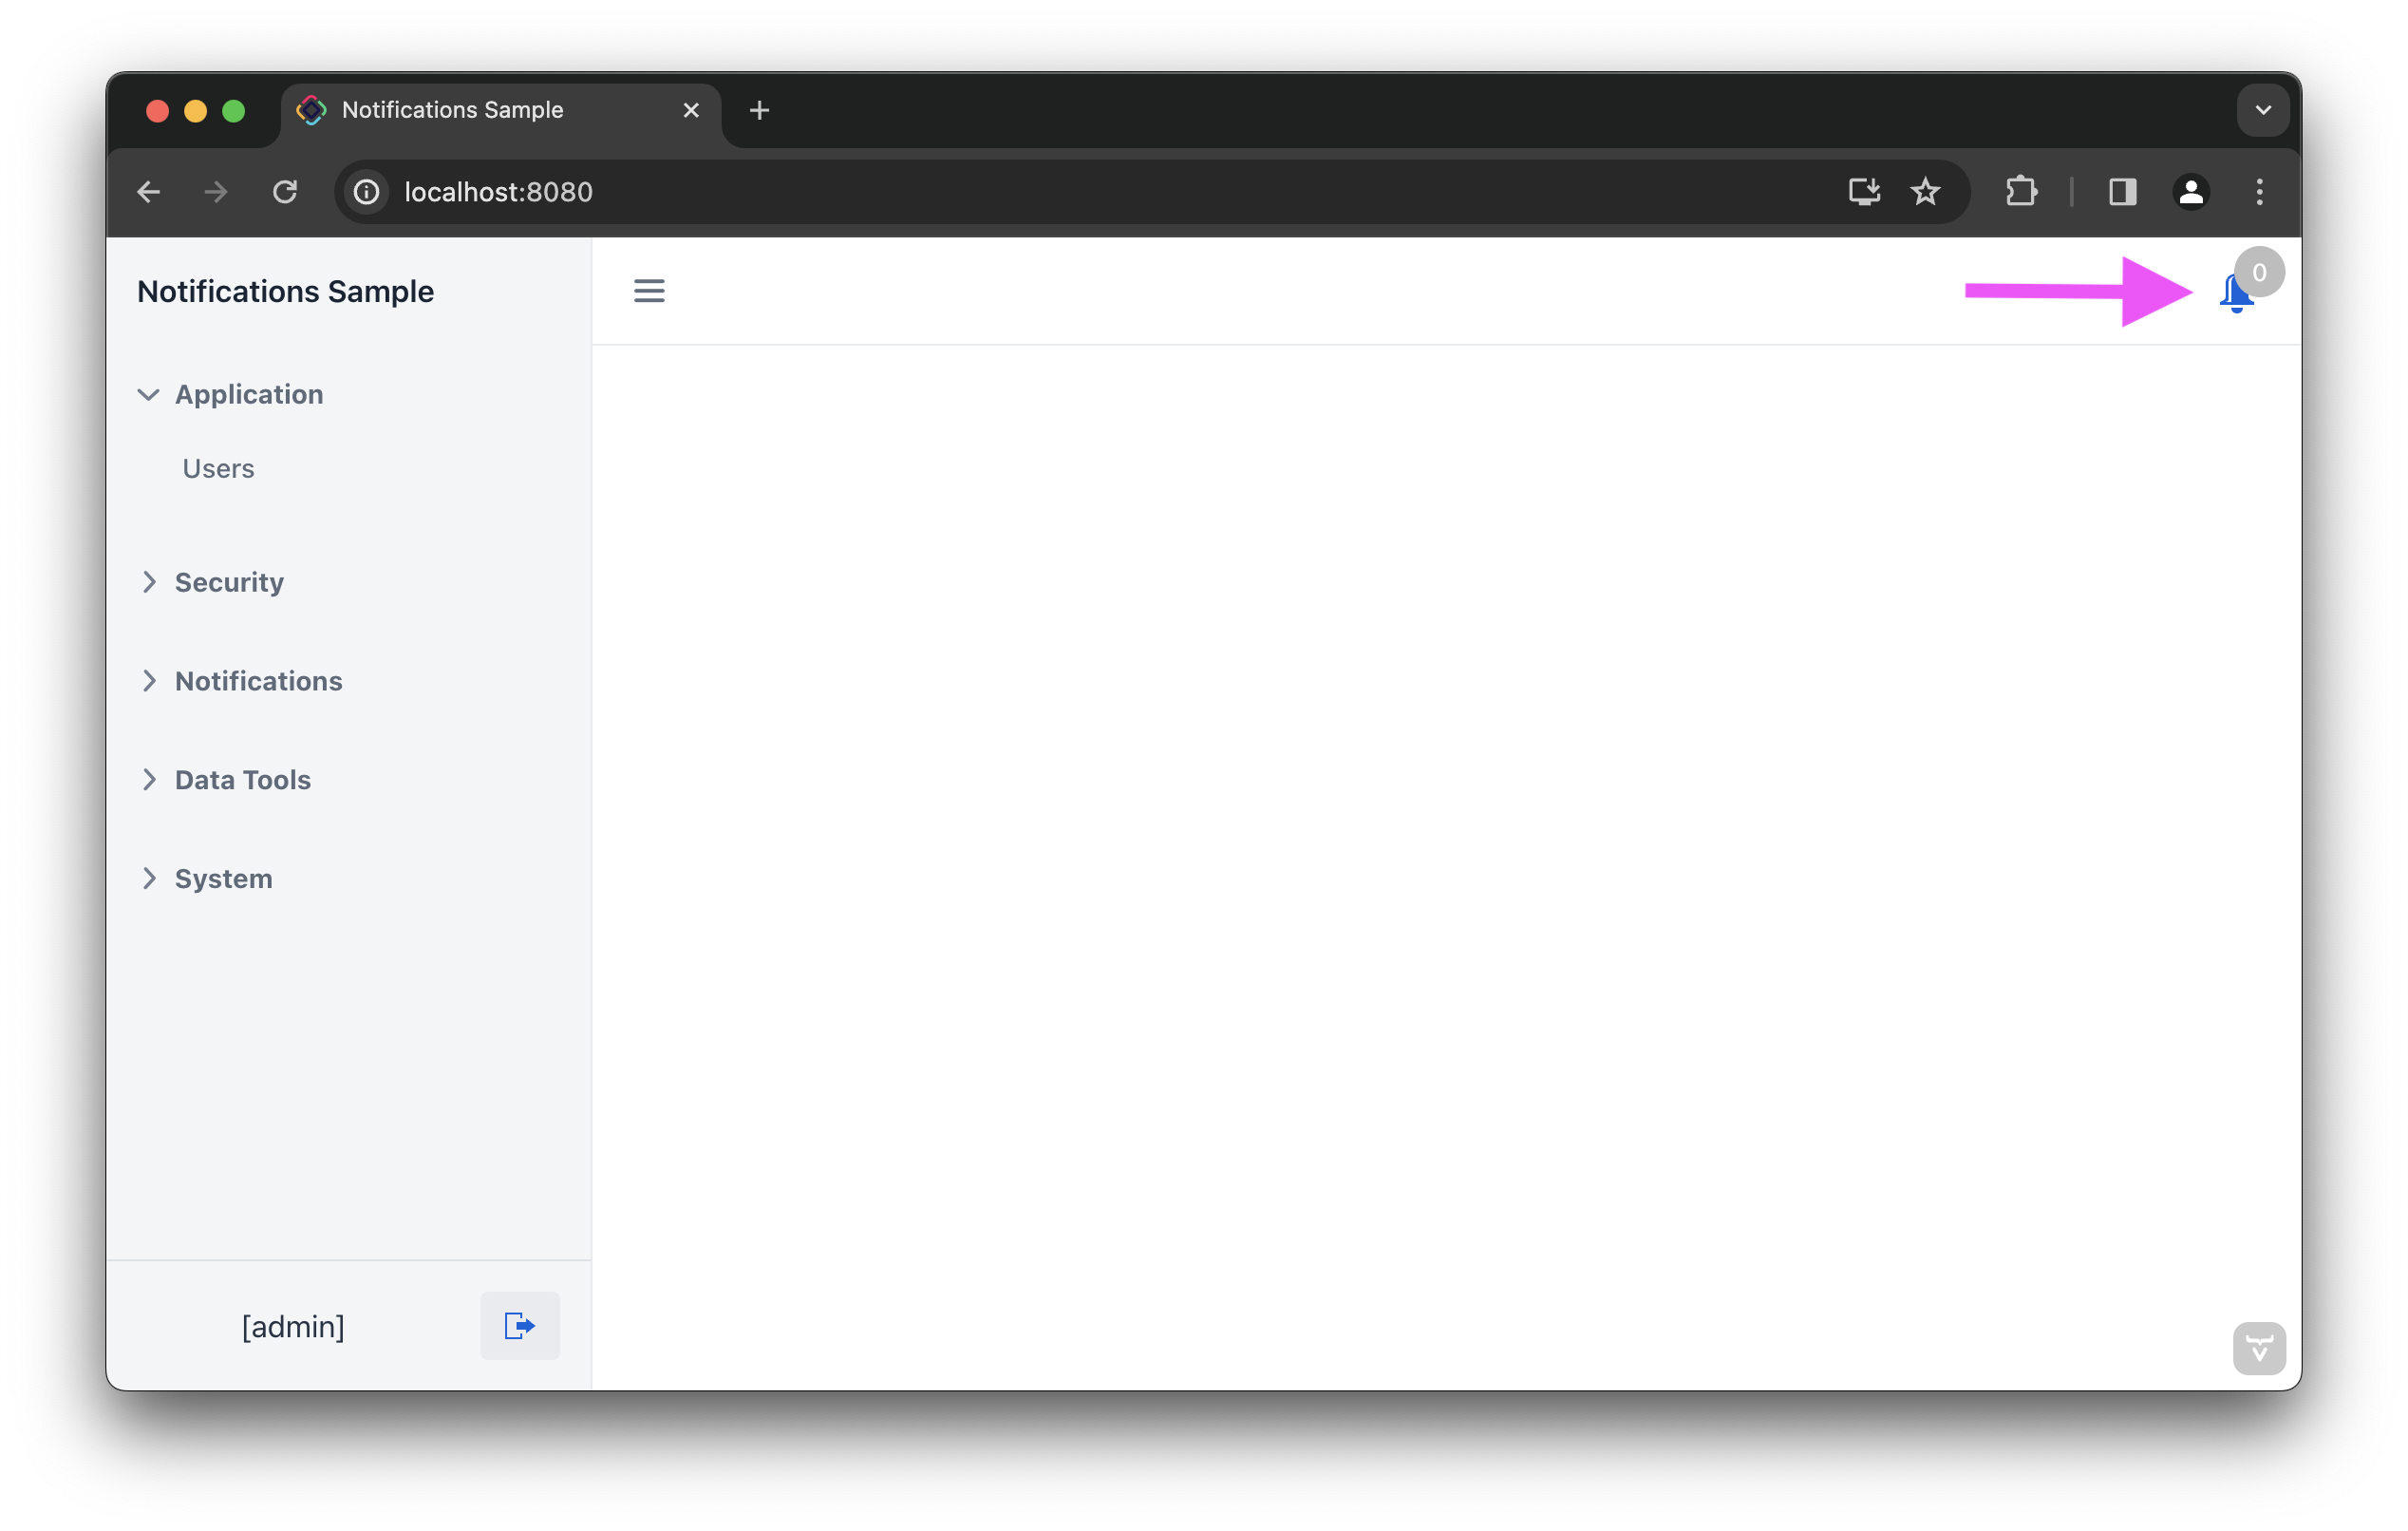
Для этого добавьте notificationIndicator внутри компонента navigationBar главного экрана:
<mainView xmlns="http://jmix.io/schema/flowui/main-view" xmlns:ntf="http://jmix.io/schema/notifications/ui"
          title="msg://MainView.title"> (1)
    <!-- ... -->
    <appLayout>
        <navigationBar>
            <!-- ... -->
            <ntf:notificationsIndicator id="ntfIndicator" classNames="me-m"/> (2)
</navigationBar>| 1 | Объявляет пространство имен notifications в корневом элементе. |
| 2 | Добавляет визуальный компонент с счетчиком непрочитанных уведомлений. |
Email-канал
Чтобы отправлять уведомления по электронной почте, добавьте в приложение дополнение Email. После этого вы сможете выбирать email-канал в окне редактора уведомлений.
Адрес электронной почты получателя берется из свойства объекта пользователя. По умолчанию дополнение предполагает, что email хранится в свойстве email. Если вы хотите использовать другое свойство, определите его имя в файле application.properties, например:
jmix.notifications.user-email-property-name=emailAddressКроме того, вы можете создать Spring-бин, реализующий интерфейс UserEmailResolver, чтобы определить более сложную логику получения адреса электронной почты пользователя, например:
@Component
public class GetEmailService implements UserEmailResolver {

    @Nullable
    @Override
    public String resolveEmail(UserDetails user) {
        return user.getUsername()+"company.com";
    }
}
Роли безопасности
Для работы с уведомлениями пользователи с ограниченным доступом к системе должны иметь одну из следующих ролей:
-
Notifications: administrator – пользователь с полным доступом к уведомлениям.
-
Notifications: In-app notifications reader – пользователь, который получает уведомления, отправленные через встроенный канал, и может читать их в специальном диалоге.
-
Notifications: sender – пользователь может создавать и отправлять уведомления.
-
Notifications: combines sender and reader – объединяет роли отправителя и читателя.