Начало работы с поиском
Это руководство предоставляет инструкции по инициализации функциональности поиска в вашем приложении.
Предположим, вы хотите добавить несколько сущностей в ваше приложение и включить поиск по их атрибутам.
Для начала выполните следующие шаги:
Создание модели данных и экранов
Давайте создадим перечисленные ниже классы:
-
Перечисление
Statusсо значениямиSILVERиGOLD. -
Сущность
Customerс полями:-
firstNameтипаString -
lastNameтипаString -
statusтипаStatus -
cardтипаFileRef
-
-
Сущность
Orderс полями:-
dateтипаDate -
numberтипаString -
amountтипаInteger -
productтипаString -
customerсвязь сCustomer, кардинальность "многие-к-одному"
-
Настройте имя экземпляра для сущности Order, чтобы оно отображалось в результатах поиска.
Создайте экраны деталей и списка для сущностей Customer и Order.
Создание интерфейса определения индекса
Далее создайте Определение индекса (Index Definition) — интерфейс, описывающий, какие сущности и атрибуты должны быть проиндексированы. Вы можете создать его вручную, как показано ниже, или использовать мастер Studio из узла Search Indexes в окне инструментов Jmix.
Предположим, мы хотим искать заказы по их номеру, названию продукта, статусу клиента или фамилии клиента. В определении индекса мы определим метод для указания необходимых атрибутов.
@JmixEntitySearchIndex(entity = Order.class)
public interface OrderIndexDefinition {

    @AutoMappedField(includeProperties =
            {"number", "product", "customer.status", "customer.lastName"})
    void orderMapping();
}-
Интерфейс должен быть аннотирован
@JmixEntitySearchIndexс обязательным параметромentity. -
Интерфейс может быть назван произвольно.
-
Аннотация
@AutoMappedFieldавтоматически сопоставляет запрошенные свойства. Здесь мы используем параметрincludeProperties, чтобы указать атрибуты для индексации. -
Метод может быть назван по вашему усмотрению.
Настройка именования индексов
По умолчанию имя индекса формируется как <prefix><entity_name>. Префикс по умолчанию - search_index_.
Поскольку вы можете использовать один и тот же сервис Elasticsearch/OpenSearch в нескольких проектах, рекомендуется настроить префикс по умолчанию для уникальных имен индексов. Чтобы внести это изменение, добавьте следующее свойство в ваш файл application.properties:
jmix.search.search-index-name-prefix = demo_prefix_В качестве альтернативного способа вы можете указать полное имя индекса в атрибуте indexName аннотации @JmixEntitySearchIndex.
Настройка обработки очереди индексации
Приложение Jmix отслеживает изменения данных, но не синхронизирует их автоматически с сервисом поисковой системы. Чтобы обеспечить регулярное обновление индексов, просто добавьте в проект дополнение Quartz. Дополнение Search будет использовать Quartz для плановой обработки очереди индексации, используя конфигурации по умолчанию.
Создание экрана поиска
-
Создайте пустой экран с именем Search, используя шаблон Studio
Blank view. -
Нажмите Add Component на панели действий, найдите элемент
SearchFieldи дважды щелкните по нему. -
Новый элемент
searchFieldпоявится как на панели структуры Jmix UI, так и в XML. Вы можете настраивать атрибуты, такие какid,height,widthи т.д., так же, как это делается для других UI-компонентов.<search:searchField id="searchField"/>
Теперь экран включает текстовое поле для ввода поискового запроса и кнопку для выполнения поиска.
Тестирование поиска в приложении
Теперь мы готовы запустить и протестировать приложение.
Сначала добавьте несколько экземпляров сущностей Customer и Order.
Перейдите на экран Search, чтобы найти клиентов со статусом Silver.
Результаты поиска появятся на экране Search results.
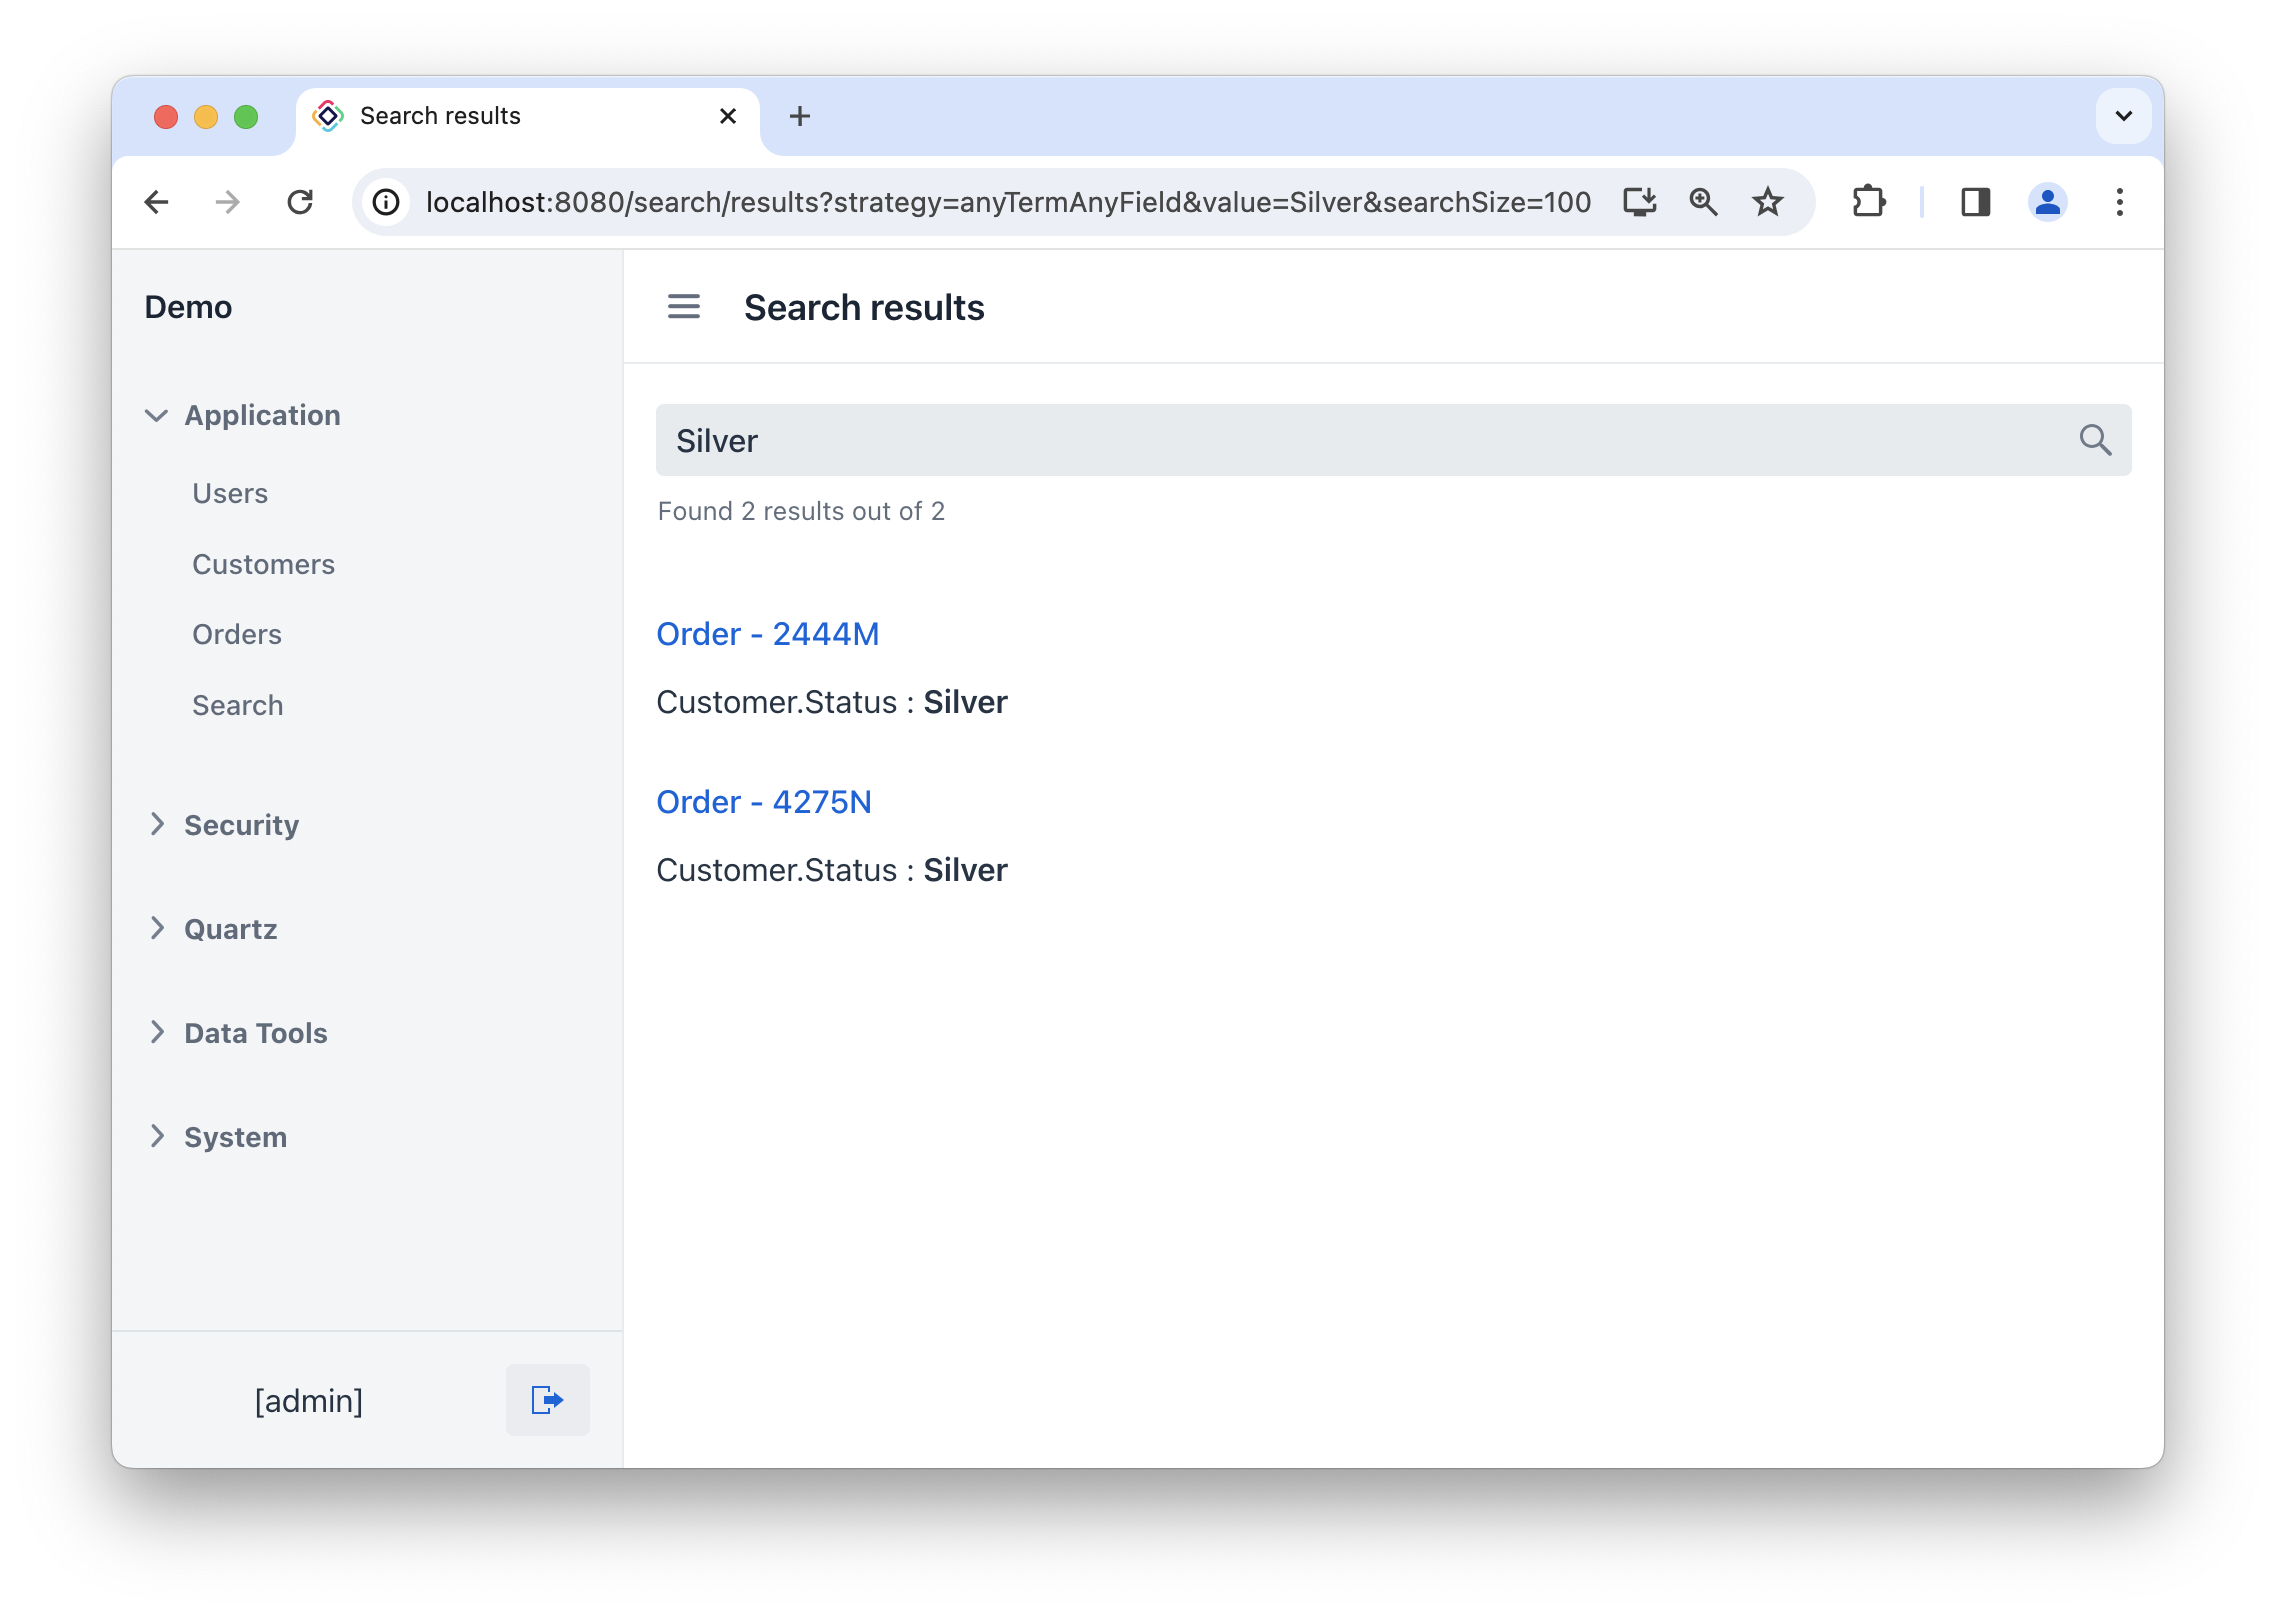
Щелчок по результату перенаправит вас на экран деталей сущности.