Получение токенов
Способ, которым клиент получает access-токен для доступа к защищенному ресурсу, называется механизмом авторизации (authorization grant). Дополнение Authorization Server поддерживает типы авторизации (grant types), описанные в спецификации OAuth 2.1 (и реализованные во фреймворке Spring Authorization Server). Дополнительно, дополнение Jmix Authorization Server добавляет тип авторизации Resource Owner Password Credentials, который существовал в спецификации OAuth 2.0, но был удален в OAuth 2.1.
Список поддерживаемых типов авторизации выглядит следующим образом:
-
Client credentials (Учетные данные клиента)
-
Authorization code (Код авторизации)
-
Resource Owner Password Credentials (Учетные данные владельца ресурса)
-
Refresh Token (Токен обновления)
Авторизация с использованием учетных данных клиента
Механизм авторизации Client Credentials позволяет получать access-токены от сервера авторизации путем предоставления зарегистрированных учетных данных клиента в запросе.
| Используйте механизм авторизации Client Credentials для приложений типа "машина-машина", где не требуется взаимодействие с пользователем. |
Идея заключается в следующем:
-
Клиент с идентификатором и секретом регистрируется в приложении Jmix.
-
Клиенту назначаются ресурсные и row-level роли Jmix.
-
Клиентское приложение использует идентификатор и секрет клиента для получения access-токена через специальный HTTP-запрос.
-
Используя этот токен, клиентское приложение может обращаться к защищенным API-эндпойнтам с разрешениями, включенными в роли, назначенные клиенту.
Самый простой способ зарегистрировать клиента - добавить стандартные свойства приложения Spring Authorization Server:
# The client id is my-client
spring.security.oauth2.authorizationserver.client.myclient.registration.client-id=my-client
# The client secret (password) is my-secret
spring.security.oauth2.authorizationserver.client.myclient.registration.client-secret={noop}my-secret
# Enable Client Credential grant for the my-client
spring.security.oauth2.authorizationserver.client.myclient.registration.authorization-grant-types=client_credentials
# Client credentials must be passed in the Authorization header using the HTTP Basic authentication scheme
spring.security.oauth2.authorizationserver.client.myclient.registration.client-authentication_methods=client_secret_basic
# Use opaque tokens instead of JWT
spring.security.oauth2.authorizationserver.client.myclient.token.access-token-format=reference
# access token time-to-live
spring.security.oauth2.authorizationserver.client.myclient.token.access-token-time-to-live=24h
Следующий набор свойств приложения специфичен для Jmix и определяет, какие ресурсные и row-level роли должны быть назначены access-токену, выданному клиенту. В этом примере мы назначим две ресурсные роли:
-
rest-minimal(REST: minimal access) - для обеспечения доступа к REST API эндпойнтам. -
user-management(User management) - для разрешения операций с сущностью User через REST API.
# my-client is the client id we configured previously
jmix.authserver.client.myclient.client-id = my-client
jmix.authserver.client.myclient.resource-roles = user-management, rest-minimal
Роль user-management выглядит следующим образом:
@ResourceRole(name = "User management", code = UserManagementRole.CODE, scope = "API") (1)
public interface UserManagementRole {

    String CODE = "user-management";

    @EntityAttributePolicy(entityClass = User.class, attributes = "*", action = EntityAttributePolicyAction.MODIFY)
    @EntityPolicy(entityClass = User.class, actions = EntityPolicyAction.ALL)
    void user();
}| 1 | Скоуп API указывает, что роль будет применяться для REST API запросов. |
После определения этих свойств в приложении должно стать возможным получение access-токенов. В этом примере мы будем использовать командную утилиту curl для взаимодействия с REST API.
curl -X POST http://localhost:8080/oauth2/token \
   --basic --user my-client:my-secret \
   -H "Content-Type: application/x-www-form-urlencoded" \
   -d "grant_type=client_credentials"
В Windows удалите символы \ и напишите команду в одной строке.
|
В результате вы должны получить что-то вроде этого:
{
  "access_token":"hKhgNyGMTqaKd6prH-GoHF8zFVTSr9tKKyE3OnMoafRO4FT4Xq_cewHr28cIRITaRmF0olRXpVTyFdxcOPTAl8Vc7xopHrdNuXNXwEeBn7NSiEMvQXW5zO0dwMn_H8FQ",
  "token_type":"Bearer",
  "expires_in":299
}
Атрибут access_token - это токен, который вы можете использовать для последующих запросов в качестве части заголовка Authorization. Он действует как временные учетные данные, предоставляющие вам доступ к приложению.
Альтернативно указанию свойств клиента в файле application.properties, клиенты могут быть зарегистрированы путем предоставления бина RegisteredClientRepository. Подробности смотрите в документации Spring Authorization Server.
Если вы создаете RegisteredClientRepository, то application.properties анализироваться не будет.
|
Авторизация с использованием кода авторизации
О механизме авторизации с использованием Authorization Code вы можете прочитать в спецификации OAuth 2.1.
Этот поток позволяет получить access-токен с разрешениями реального пользователя приложения Jmix. Вы сталкиваетесь с предоставлением Authorization Code, когда авторизуетесь через Google или Facebook на каком-либо сайте. Специальная форма входа отображается приложением Jmix, приложение Jmix проверяет учетные данные, и если они действительны, access-токен выдается через серию HTTP-запросов между клиентским приложением и приложением Jmix. Преимущество этого типа предоставления в том, что клиентское приложение никогда не работает с пользовательскими учетными данными.
| Используйте механизм авторизации с использованием Authorization Code для современных веб- и мобильных приложений, где безопасность является приоритетом и где возможны потоки на основе перенаправлений. |
Чтобы включить этот тип авторизации в приложении Jmix, вам нужно определить клиента, который его поддерживает.
spring.security.oauth2.authorizationserver.client.myapp.registration.client-id=myapp
spring.security.oauth2.authorizationserver.client.myapp.registration.client-secret={noop}myappsecret
spring.security.oauth2.authorizationserver.client.myapp.registration.client-authentication_methods=client_secret_basic
# enable required grant types
spring.security.oauth2.authorizationserver.client.myapp.registration.authorization-grant-types=authorization_code,refresh_token
# in this example we use the https://oauthdebugger.com website for testing
spring.security.oauth2.authorizationserver.client.myapp.registration.redirect-uris=https://oauthdebugger.com/debug
# use opaque tokens instead of JWT
spring.security.oauth2.authorizationserver.client.myapp.token.access-token-format=reference
# access token time-to-live
spring.security.oauth2.authorizationserver.client.myapp.token.access-token-time-to-live=1h
# refresh token token time-to-live
spring.security.oauth2.authorizationserver.client.myapp.token.refresh-token-time-to-live=24h
# use PKCE when performing the Authorization Code Grant flow
spring.security.oauth2.authorizationserver.client.myapp.require-proof-key=true
Имейте в виду, что по умолчанию Spring Authorization Server настраивает следующие URL-адреса эндпойнтов:
-
эндпойнт авторизации:
/oauth2/authorize, напримерhttp://localhost:8080/oauth2/authorize -
эндпойнт токена:
/oauth2/token, напримерhttp://localhost:8080/oauth2/token
В этом примере мы будем использовать сайт https://oauthdebugger.com для тестирования выдачи токенов. Он будет эмулировать внешнее приложение, которому требуется доступ к ресурсам Jmix и которое нуждается в получении access-токена. В вашем собственном приложении вам нужно будет реализовать шаги, описанные в спецификации протокола OAuth 2.1: отправить запрос на эндпойнт авторизации, обработать перенаправление, извлечь из него код авторизации, сделать запрос к эндпойнту токена для обмена кода авторизации на access-токен и т.д.
Откройте https://oauthdebugger.com. Заполните поля:
-
Authorize URI: http://localhost:8080/oauth2/authorize
-
Client ID: myapp
-
Scope: оставьте это поле пустым
-
Use PKCE?: включите чекбокс
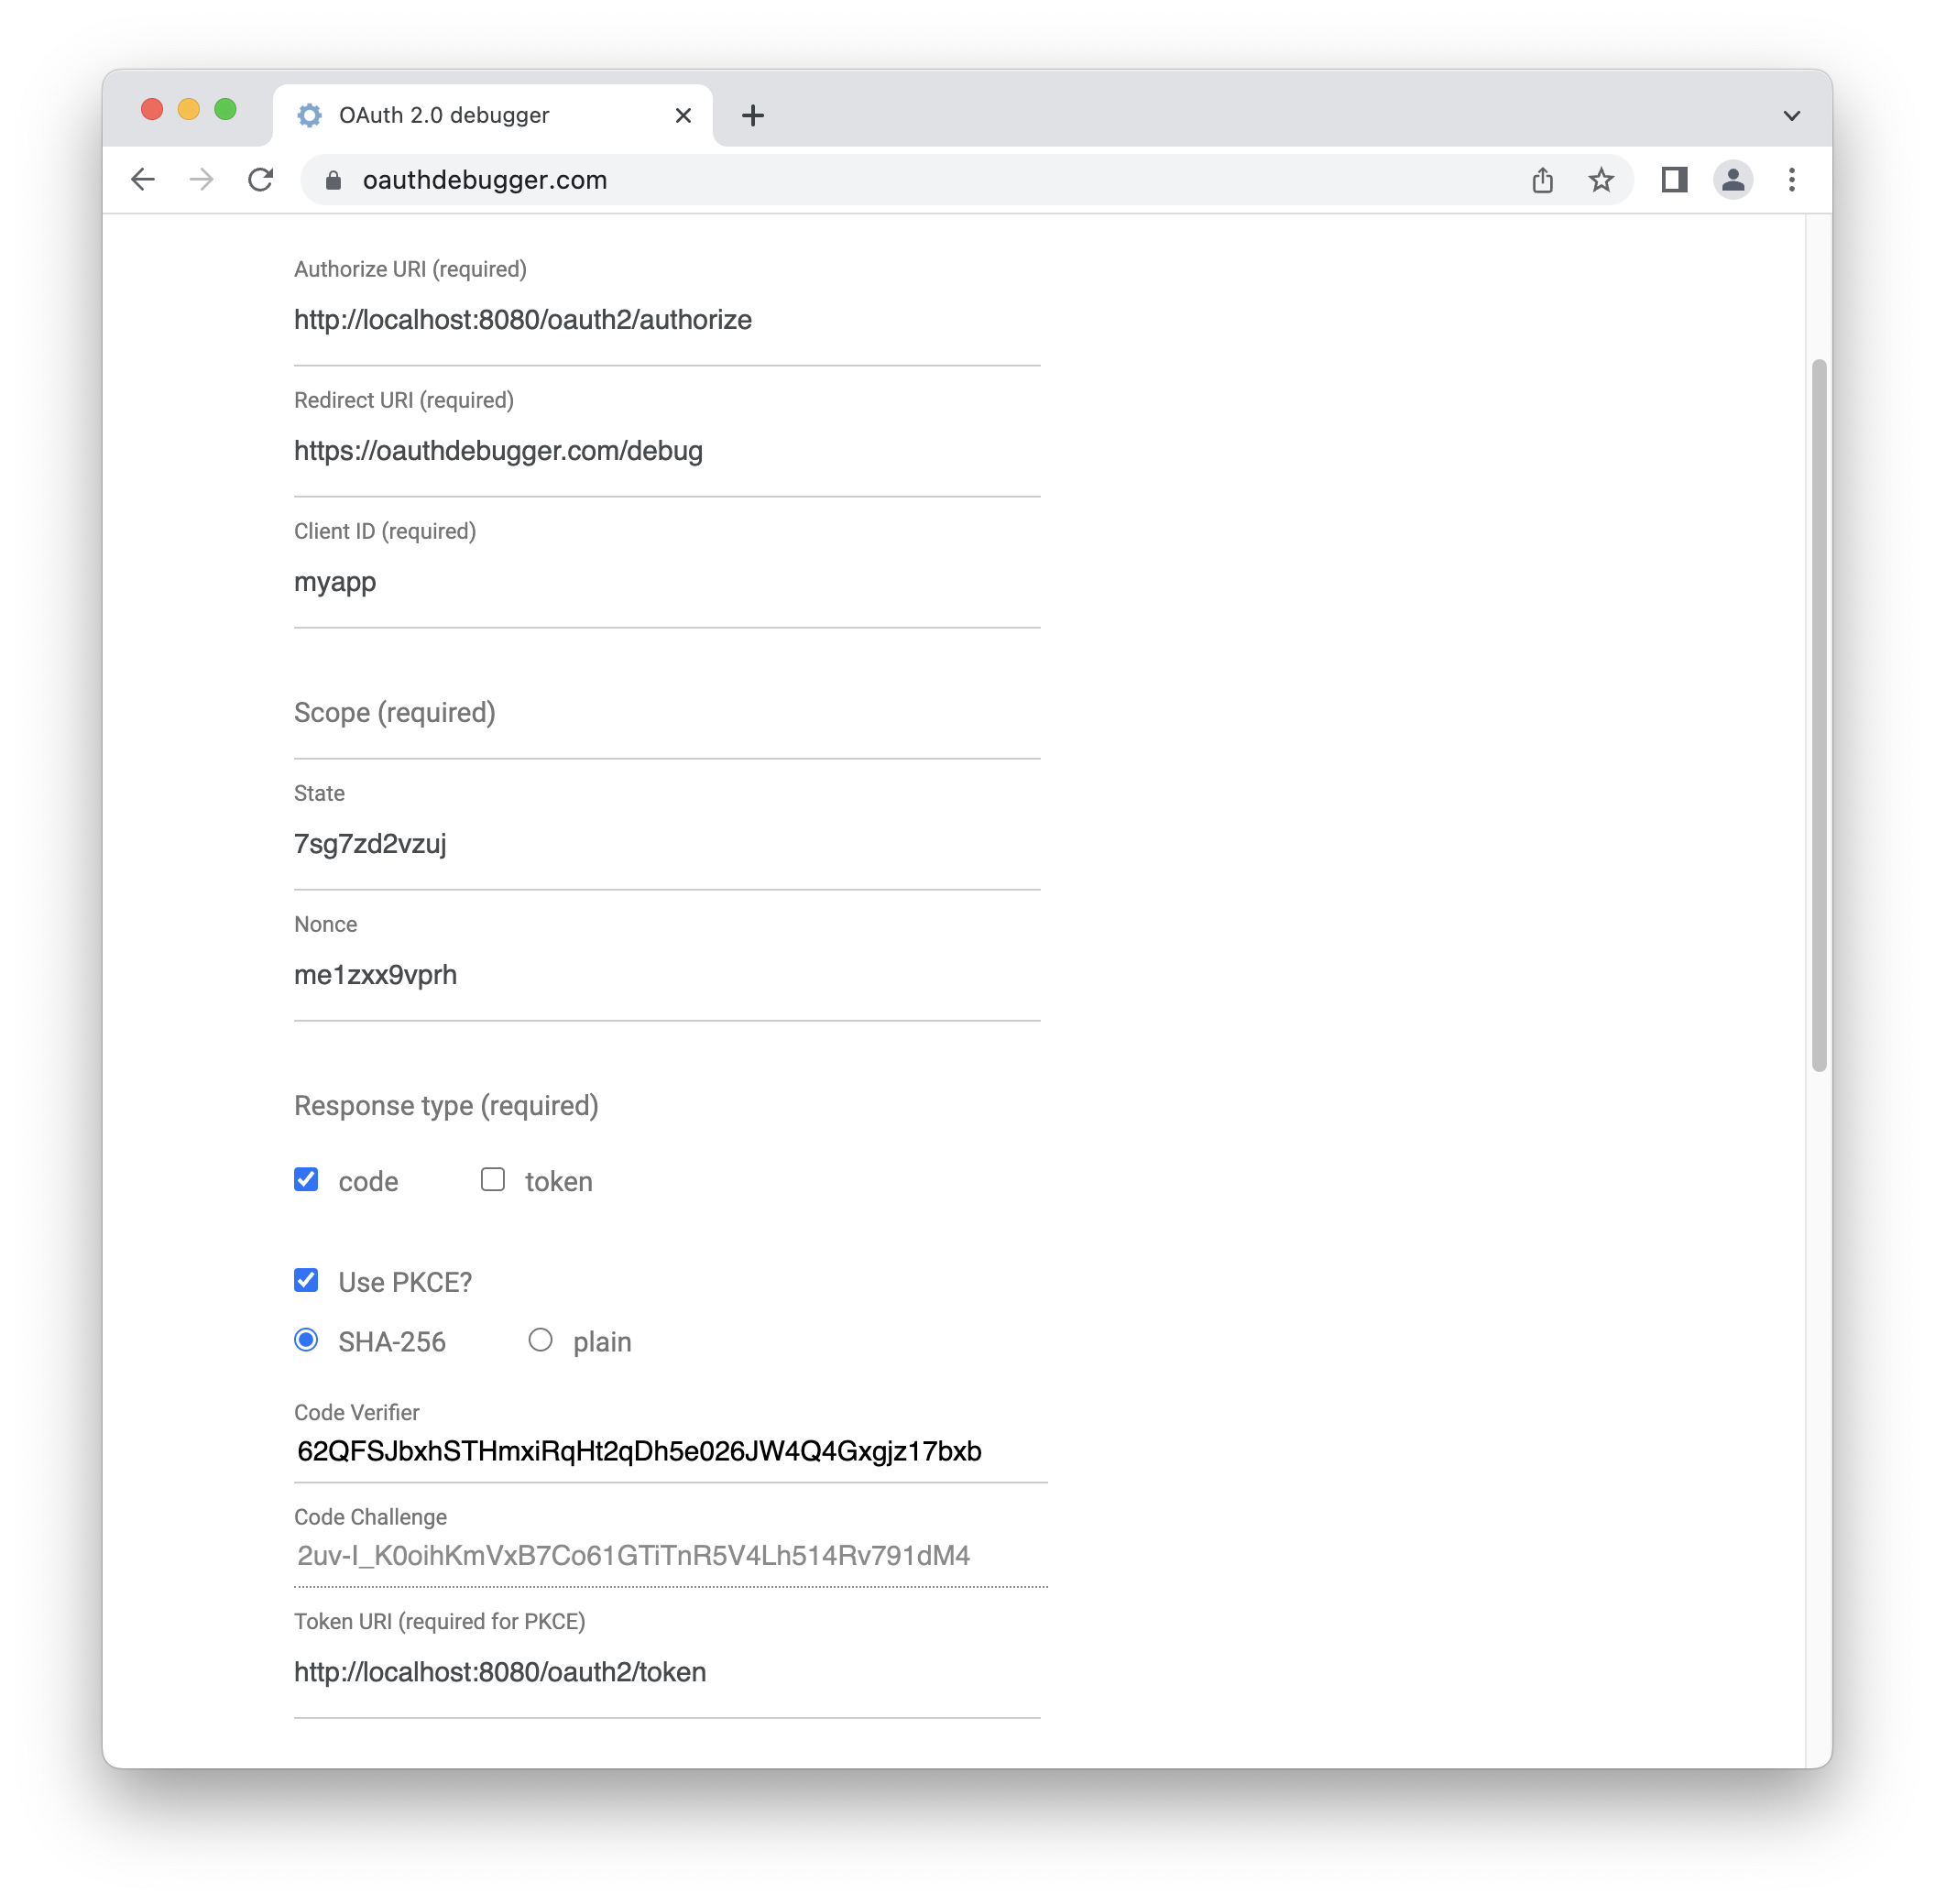
Запомните значение поля Code Verifier. Оно понадобится нам позже.
Нажмите кнопку SEND REQUEST внизу страницы.
Вы должны увидеть специальную форму входа, предоставляемую приложением Jmix, где вам нужно ввести учетные данные существующего пользователя Jmix.
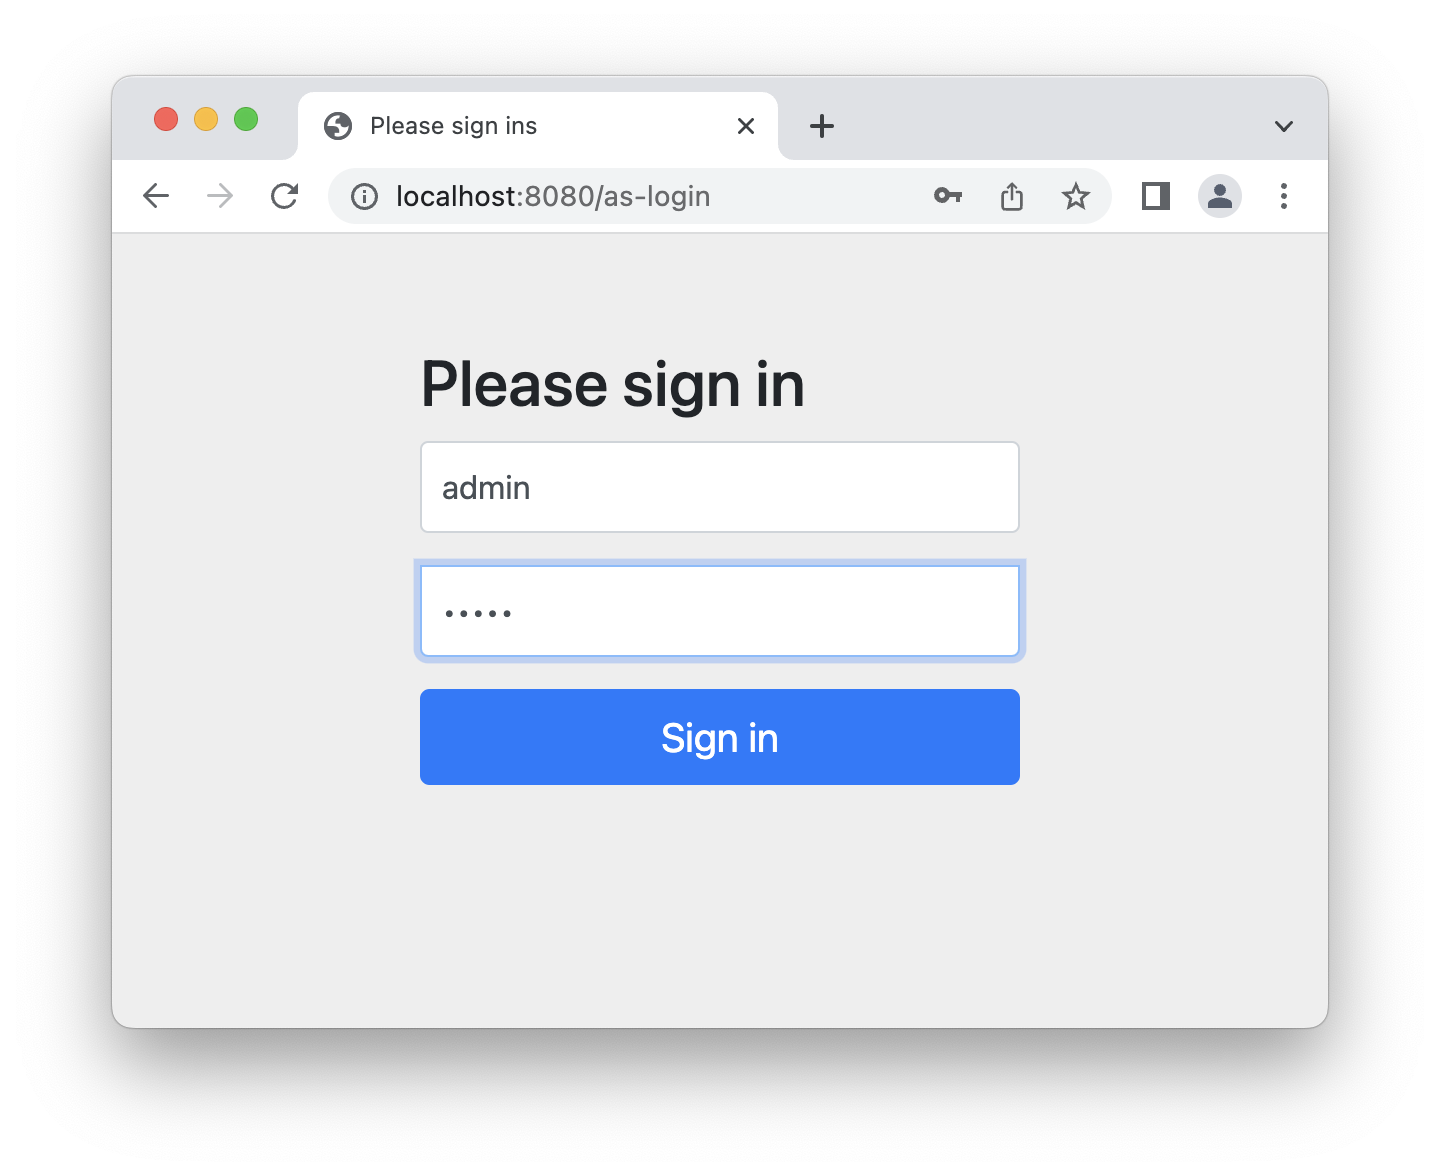
Access-токен, который вы получите в результате всех шагов, будет ассоциирован с этим пользователем, и все запросы к REST API Jmix будут учитывать разрешения этого пользователя (ресурсные роли и row-level роли).
Если учетные данные действительны, вы должны быть перенаправлены на Redirect URI https://oauthdebugger.com/debug, который был определен в application.properties. Код авторизации должен быть добавлен как параметр URL code, например, https://oauthdebugger.com/debug?code=BdgQArzTaj_xna_a0-PoUIQwszMR0xPkToxcktd5wPe4SbO18qBYStqJePOPNaoe9cuIJe0nac0cw0yVC9Iv3SeofEYbMZhMKldoJQQwcBUnBTfp2AyQayDlaE8KPaCf&state=sujodv3j7eh
Чтобы обменять этот код авторизации на access-токен, вам нужно выполнить другой HTTP-запрос к эндпойнту токена приложения Jmix. Мы будем использовать для этого командную утилиту curl. Используйте значение code_verifier с начальной страницы https://oauthdebugger.com.
curl -X POST http://localhost:8080/oauth2/token \
   --basic --user myapp:myappsecret \
   -H "Content-Type: application/x-www-form-urlencoded" \
   -d "grant_type=authorization_code" \
   -d "redirect_uri=https://oauthdebugger.com/debug" \
   -d "code=c9ehHTJyT84mX-v2v2Q8sbAxkAFYg-gjfZDJImu5ExZVGLUyWn_J2-afs_m7kiv7MwjD-XXVRQtwz_6H-JTb4NvuWiUw6-5vrF75LtyNYAovuvSJQ680nQwv3PbhB4Y-" \
   -d "code_verifier=zdhRZIStXgwonFfvNYo2oI6nYuYt022LdcZF8eh3LGE" \
   -d "code_challenge_method=S256"
В результате вы должны получить что-то вроде этого:
{
  "access_token":"Q6zvq8qGMUrN1VgouerOp4TJrry2f8oqL6mix8lDW-VKD_JHZXx0xv-ZZ_Zg_qgaHNw_wmeX6Qs0SlvEiFCyHqJ-PjqsnNkfF1XNKCAV43GQO0QeqmuV2sMiLgzY-m5r",
  "refresh_token":"DSINNaxmYykPrs3bDaKqaRgnrQDeZYInEF0yjtj2Vzkf5Nbf7OA0N09uQFN97MUmqaHBIXVxJFPQHtIbn-BM6Di035P68NqiIVfCawR5m6qQ6HbD6pQsCqAo-FBYAMqv",
  "token_type":"Bearer",
  "expires_in":299
}
Пользовательская форма входа
Этот раздел содержит пример замены стандартной формы входа, предоставляемой дополнением Authorization Server, на пользовательскую.
Сначала создайте шаблон формы входа. Дополнение Authorization Server включает движок шаблонов Thymeleaf в качестве зависимости, поэтому вы можете использовать его для своей собственной формы входа.
Создайте новый файл с именем my-as-login.html и поместите его в директорию src/main/resources/templates. Это расположение по умолчанию, где Thymeleaf будет искать шаблоны.
<!DOCTYPE html>
<html xmlns:th="http://www.thymeleaf.org">
<head>
    <meta name="viewport" content="width=device-width, initial-scale=1">
    <link rel="stylesheet" th:href="@{/my-as-login/styles/bootstrap.min.css}">
    <link rel="stylesheet" th:href="@{/my-as-login/styles/as-login.css}">
    <title>Please sign in</title>
</head>
<body>
<form class="as-login-form" th:action="@{/as-login}" method="post">
    <img th:src="@{/my-as-login/icons/as-login-icon.png}" class="mb-3 mx-auto d-block">
    <h2>Please sign in</h2>
    <div class="alert alert-danger" th:if="${param.error}">Bad credentials</div>
    <div class="mb-3">
        <label for="username" class="form-label">Username</label>
        <input type="text" class="form-control" id="username" name="username" required autofocus>
    </div>
    <div class="mb-3">
        <label for="password" class="form-label">Password</label>
        <input type="password" class="form-control" id="password" name="password" required>
    </div>
    <button type="submit" class="btn btn-primary w-100">Sign in</button>
</form>
</body>
</html>
Вы можете заметить, что форма использует стили и изображение, расположенные по путям /my-as-login/styles/** и /my-as-login/icons/** соответственно.
Скачайте скомпилированные CSS-файлы Bootstrap и скопируйте файл bootstrap.min.css в директорию src/main/resources/META-INF/resources/my-as-login/styles.
META-INF/resources - это одно из мест по умолчанию, где Spring ищет статические ресурсы.
|
Создайте файл as-login.css в директории src/main/resources/META-INF/resources/my-as-login/styles:
.as-login-form {
    max-width: 300px;
    position: absolute;
    top: 50%;
    left: 50%;
    transform: translate(-50%, -50%);
}

.as-login-form img {
    width: 72px;
    height: 72px;
}
Возьмите любое изображение (например, логотип Jmix), переименуйте его в as-login-icon.png и поместите в директорию src/main/resources/META-INF/resources/my-as-login/icons.
Далее вам нужно указать Spring Security разрешить доступ к файлам со стилями и изображениями. Создайте конфигурацию Spring, которая разрешает доступ к URL-адресам, где расположены ресурсы формы входа.
@Configuration
public class MySecurityConfiguration {

    @Bean
    @Order(JmixSecurityFilterChainOrder.FLOWUI - 10) (1)
    public SecurityFilterChain securityFilterChain(HttpSecurity http) throws Exception {
        http.securityMatcher("/my-as-login/icons/**", "/my-as-login/styles/**")
                .authorizeHttpRequests((authorize) -> authorize.anyRequest().permitAll());
        return http.build();
    }
}| 1 | Этот бин должен иметь более высокий приоритет, чем цепочка фильтров безопасности из FlowuiSecurityConfiguration. |
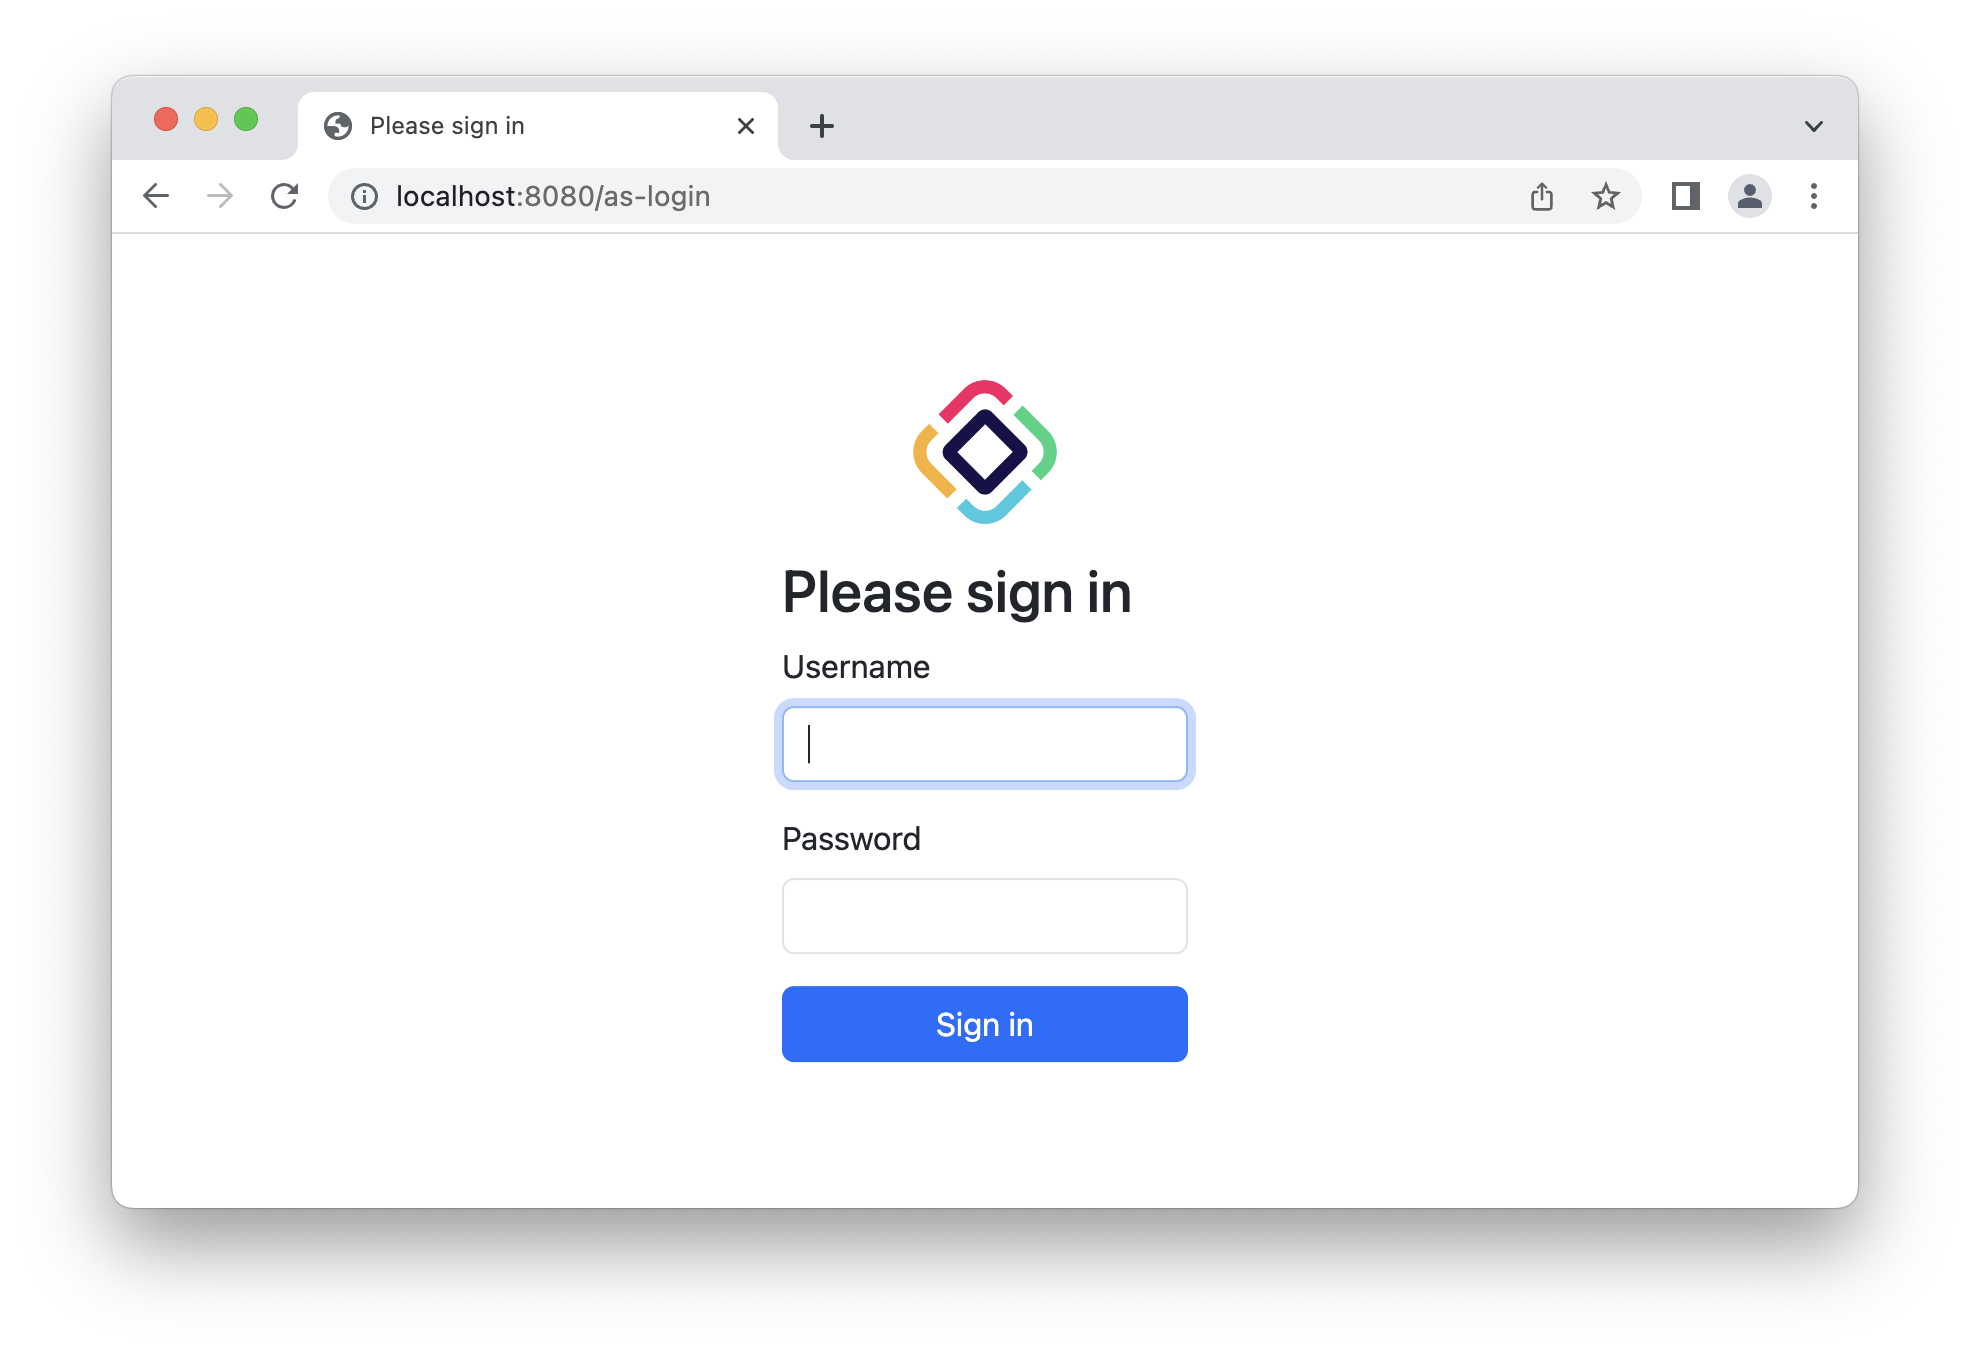
Наконец, укажите приложению, что должна использоваться новая форма входа вместо предоставляемой дополнением Authorization Server, с помощью следующего свойства приложения:
jmix.authserver.login-page-view-name = my-as-login.htmlПосле выполнения всех вышеперечисленных шагов ваша страница входа сервера авторизации должна выглядеть примерно так:
Авторизация по паролю пользователя
Механизм авторизации по паролю пользователя (Resource Owner Password Credentials) был удален из спецификации OAuth 2.1, так как он недостаточно безопасен (учетные данные пользователя должны вводиться непосредственно в клиентском приложении). Однако в некоторых случаях он может быть полезен, поэтому фреймворк Jmix предоставляет его поддержку. Подробнее о предоставлении Resource Owner Password Credentials вы можете прочитать в спецификации OAuth 2.0.
Короче говоря, этот поток позволяет получить access-токен с разрешениями реального пользователя приложения Jmix. Учетные данные пользователя Jmix передаются в теле запроса.
| Используйте механизм авторизации по паролю пользователя в доверенных, унаследованных или высококонтролируемых средах, где у вас нет другого практического выбора. |
Чтобы включить этот поток, тип авторизации "password" должен быть зарегистрирован для клиента в файле application.properties:
# set authorization-grant-types=password if you need only access_token to be returned,
# set authorization-grant-types=password,refresh_token if you also want a refresh token to be issued
spring.security.oauth2.authorizationserver.client.myclient.registration.authorization-grant-types=password
Полный набор свойств приложения может выглядеть следующим образом:
# myapp is a client id that you should pass in a basic authentication for the token endpoint
spring.security.oauth2.authorizationserver.client.myclient.registration.client-id=myapp

# mysecret is a client password that you should pass in a basic authentication for the token endpoint
spring.security.oauth2.authorizationserver.client.myclient.registration.client-secret={noop}mysecret

# set authorization-grant-types=password if you need only access_token to be returned,
# set authorization-grant-types=password,refresh_token if you also want a refresh token to be issued
spring.security.oauth2.authorizationserver.client.myclient.registration.authorization-grant-types=password

# this property indicates that client credentials (e.g. myapp, mysecret) must be passed in the Authorization header
spring.security.oauth2.authorizationserver.client.myclient.registration.client-authentication_methods=client_secret_basic

# use opaque tokens instead of JWT
spring.security.oauth2.authorizationserver.client.myclient.token.access-token-format=reference

# access token time to live
spring.security.oauth2.authorizationserver.client.myclient.token.access-token-time-to-live=1h

# refresh token time to live
spring.security.oauth2.authorizationserver.client.myclient.token.refresh-token-time-to-live=24h
По умолчанию, если jmix.authserver.use-in-memory-authorization-service имеет значение false, токены сериализуются и хранятся в базе данных. В случае авторизации Password, токен содержит сущность User, поэтому вам нужно определить бин типа JdbcOAuth2AuthorizationServiceObjectMapperCustomizer в вашем приложении и реализовать его следующим образом:
@Bean
JdbcOAuth2AuthorizationServiceJsonMapperCustomizer tokenObjectMapperCustomizer() {
    return (JsonMapper.Builder builder) ->
            builder.addMixIn(User.class, DefaultOAuth2TokenUserMixin.class);
}
Здесь User - это ваш класс сущности пользователя.
Если вы получаете java.lang.IllegalArgumentException: The class … is not in the allowlist при использовании токена, это означает, что ваша сущность пользователя содержит поля типов, не поддерживаемых сериализатором токенов по умолчанию. Тогда создайте mixin-класс, расширяющий DefaultOAuth2TokenUserMixin, и используйте его в бине JdbcOAuth2AuthorizationServiceObjectMapperCustomizer. Например:
package com.company.backend.security;

import com.company.backend.entity.Department;
import com.company.backend.entity.UserStep;
import com.fasterxml.jackson.annotation.JsonIgnore;
import io.jmix.authserver.service.mapper.DefaultOAuth2TokenUserMixin;
import io.jmix.core.FileRef;

import java.util.List;

public class OAuth2TokenUserMixin extends DefaultOAuth2TokenUserMixin {

    @JsonIgnore
    private Department department;

    @JsonIgnore
    private List<UserStep> steps;

    @JsonIgnore
    private FileRef picture;
}
Для получения access-токена клиент должен выполнить запрос к эндпойнту токена. Тип содержимого запроса должен быть application/x-www-form-urlencoded. Параметр grant_type должен иметь значение password. Параметры username и password должны содержать учетные данные пользователя Jmix. В заголовке Authorization должна быть определена базовая аутентификация с использованием идентификатора и секрета клиента, зарегистрированных в application.properties. В примере выше это myapp и mysecret.
Запрос с использованием утилиты curl будет выглядеть следующим образом:
curl -X POST http://localhost:8080/oauth2/token \
   --basic --user myapp:mysecret \
   -H "Content-Type: application/x-www-form-urlencoded" \
   -d "grant_type=password" \
   -d "username=user1" \
   -d "password=pass1"
Будет возвращен следующий результат:
{
  "access_token":"Q6zvq8qGMUrN1VgouerOp4TJrry2f8oqL6mix8lDW-VKD_JHZXx0xv-ZZ_Zg_qgaHNw_wmeX6Qs0SlvEiFCyHqJ-PjqsnNkfF1XNKCAV43GQO0QeqmuV2sMiLgzY-m5r",
  "token_type":"Bearer",
  "expires_in":3599
}
Если вам также нужен refresh token, то зарегистрируйте тип авторизации "refresh_token" для клиента:
spring.security.oauth2.authorizationserver.client.myclient.registration.authorization-grant-types=password,refresh_tokenАвторизация по токену обновления
Подробнее об авторизации по токену обновления (Refresh Token) вы можете прочитать в спецификации OAuth 2.1.
| Механизм авторизации по токену обновления позволяет получить новый токен доступа, используя существующий токен обновления, без участия пользователя. |
Механизм авторизации refresh_token должен быть зарегистрирован для клиента:
# enable required grant types
spring.security.oauth2.authorizationserver.client.myapp.registration.authorization-grant-types=authorization_code,refresh_token
Для обмена refresh token на новый access token вам необходимо выполнить HTTP-запрос к эндпойнту токена приложения Jmix. Мы будем использовать для этого командную утилиту curl.
curl -X POST http://localhost:8080/oauth2/token \
   --basic --user myapp:myappsecret \
   -H "Content-Type: application/x-www-form-urlencoded" \
   -d "grant_type=refresh_token" \
   -d "refresh_token=zN2i5JooLfi0iqNJzaE-iiEiC2oHStv_X-kOaLuqX6ZNyRCs0EaNLik1xZrz-TPHfNEahLS2c402S_1kAO09K2x6oi3LFgpFoyr9snwE3ZXJ3Lp5AVH7s4YUBOXi0VRc"